

TAKE ADVANTAGE OF THE END-OF-SUMMER GARDEN BOUNTY TO PUT AWAY ENOUGH SALSA TO LAST ALL THROUGH THE WINTER
HOW TO MAKE SALSA FROM GARDEN TO JAR
90 MIN
PREP TIME
45 MIN
COOK TIME
EASY, MEDIUM
DIFFICULTY
The end of summer means two things around here. First, hunting season is just around the corner as deer, dove, and early waterfowl are all about to come into play. Next, it means the garden is winding down but still producing an abundance of tomatoes, peppers, onions, and just about everything else you need to make a super tasty salsa.
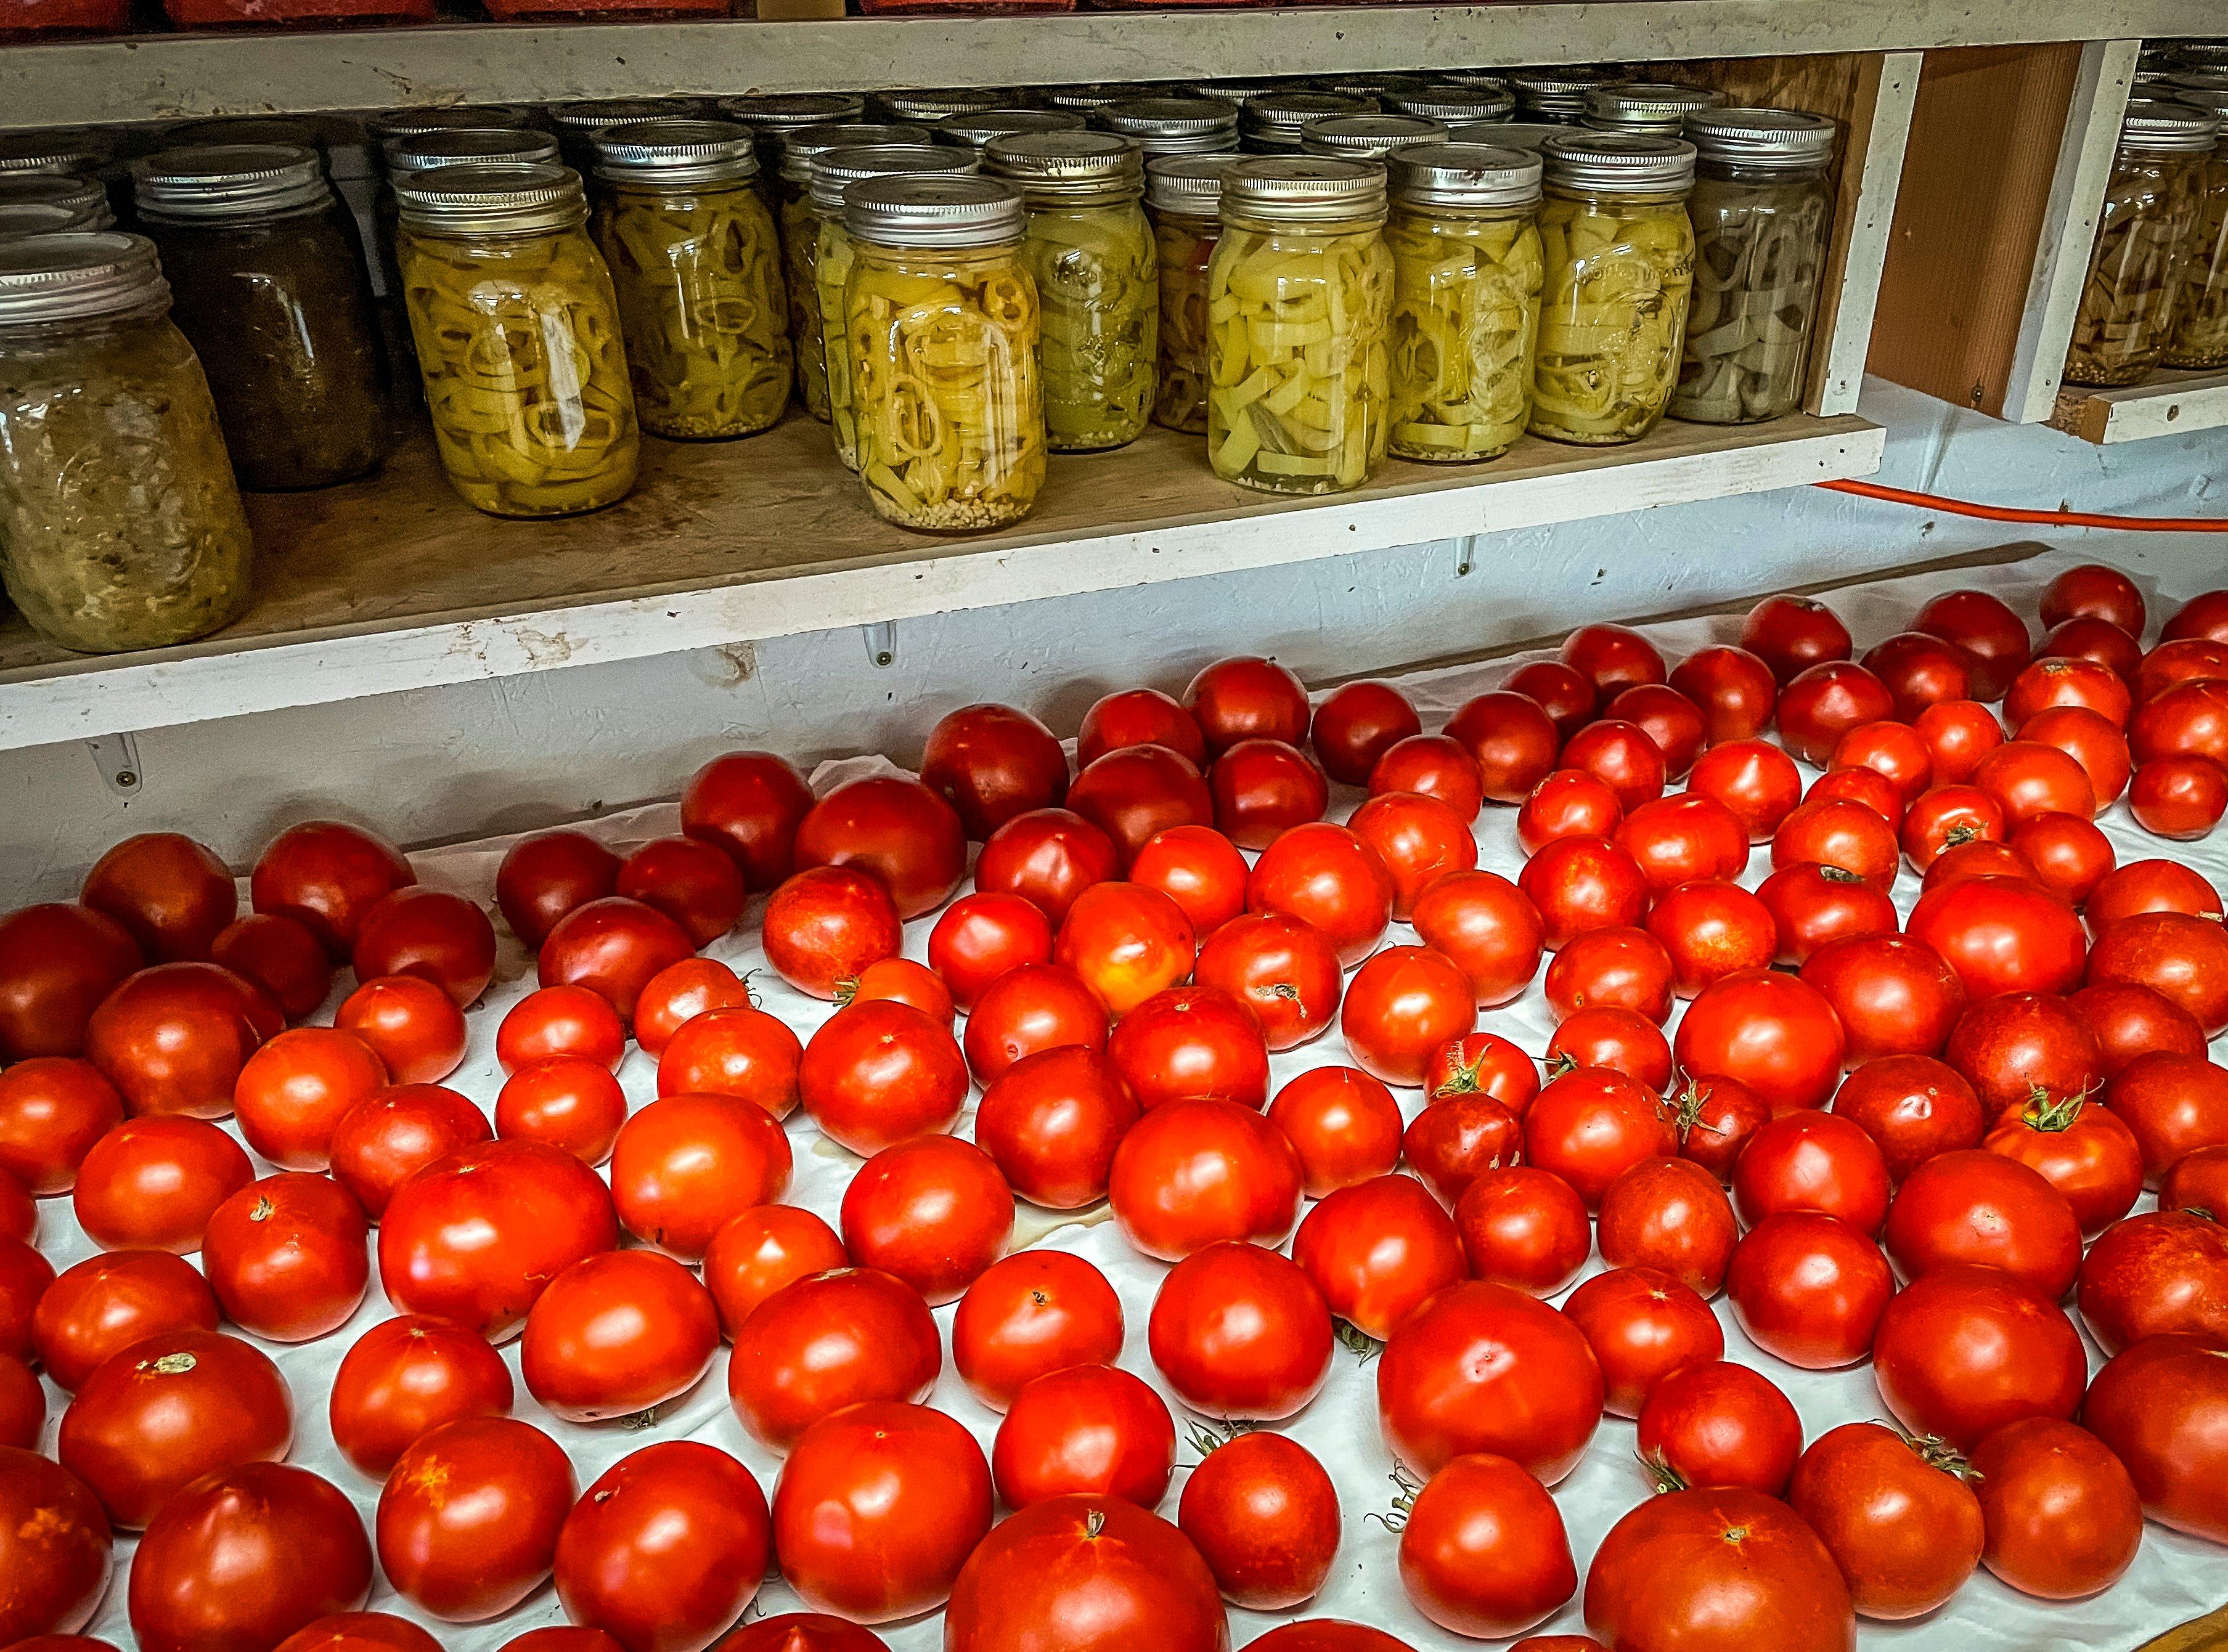
The great thing about homemade salsa is that the combination of tomatoes and vinegar make the finished product acidic enough that you can safely water-bath can it. That means you can do it without a pressure canner. The process is as simple as boiling water. Make up a few batches as the last of the garden produce comes in, so you have enough shelf-stable, non-refrigerated salsa to last throughout the coming winter.
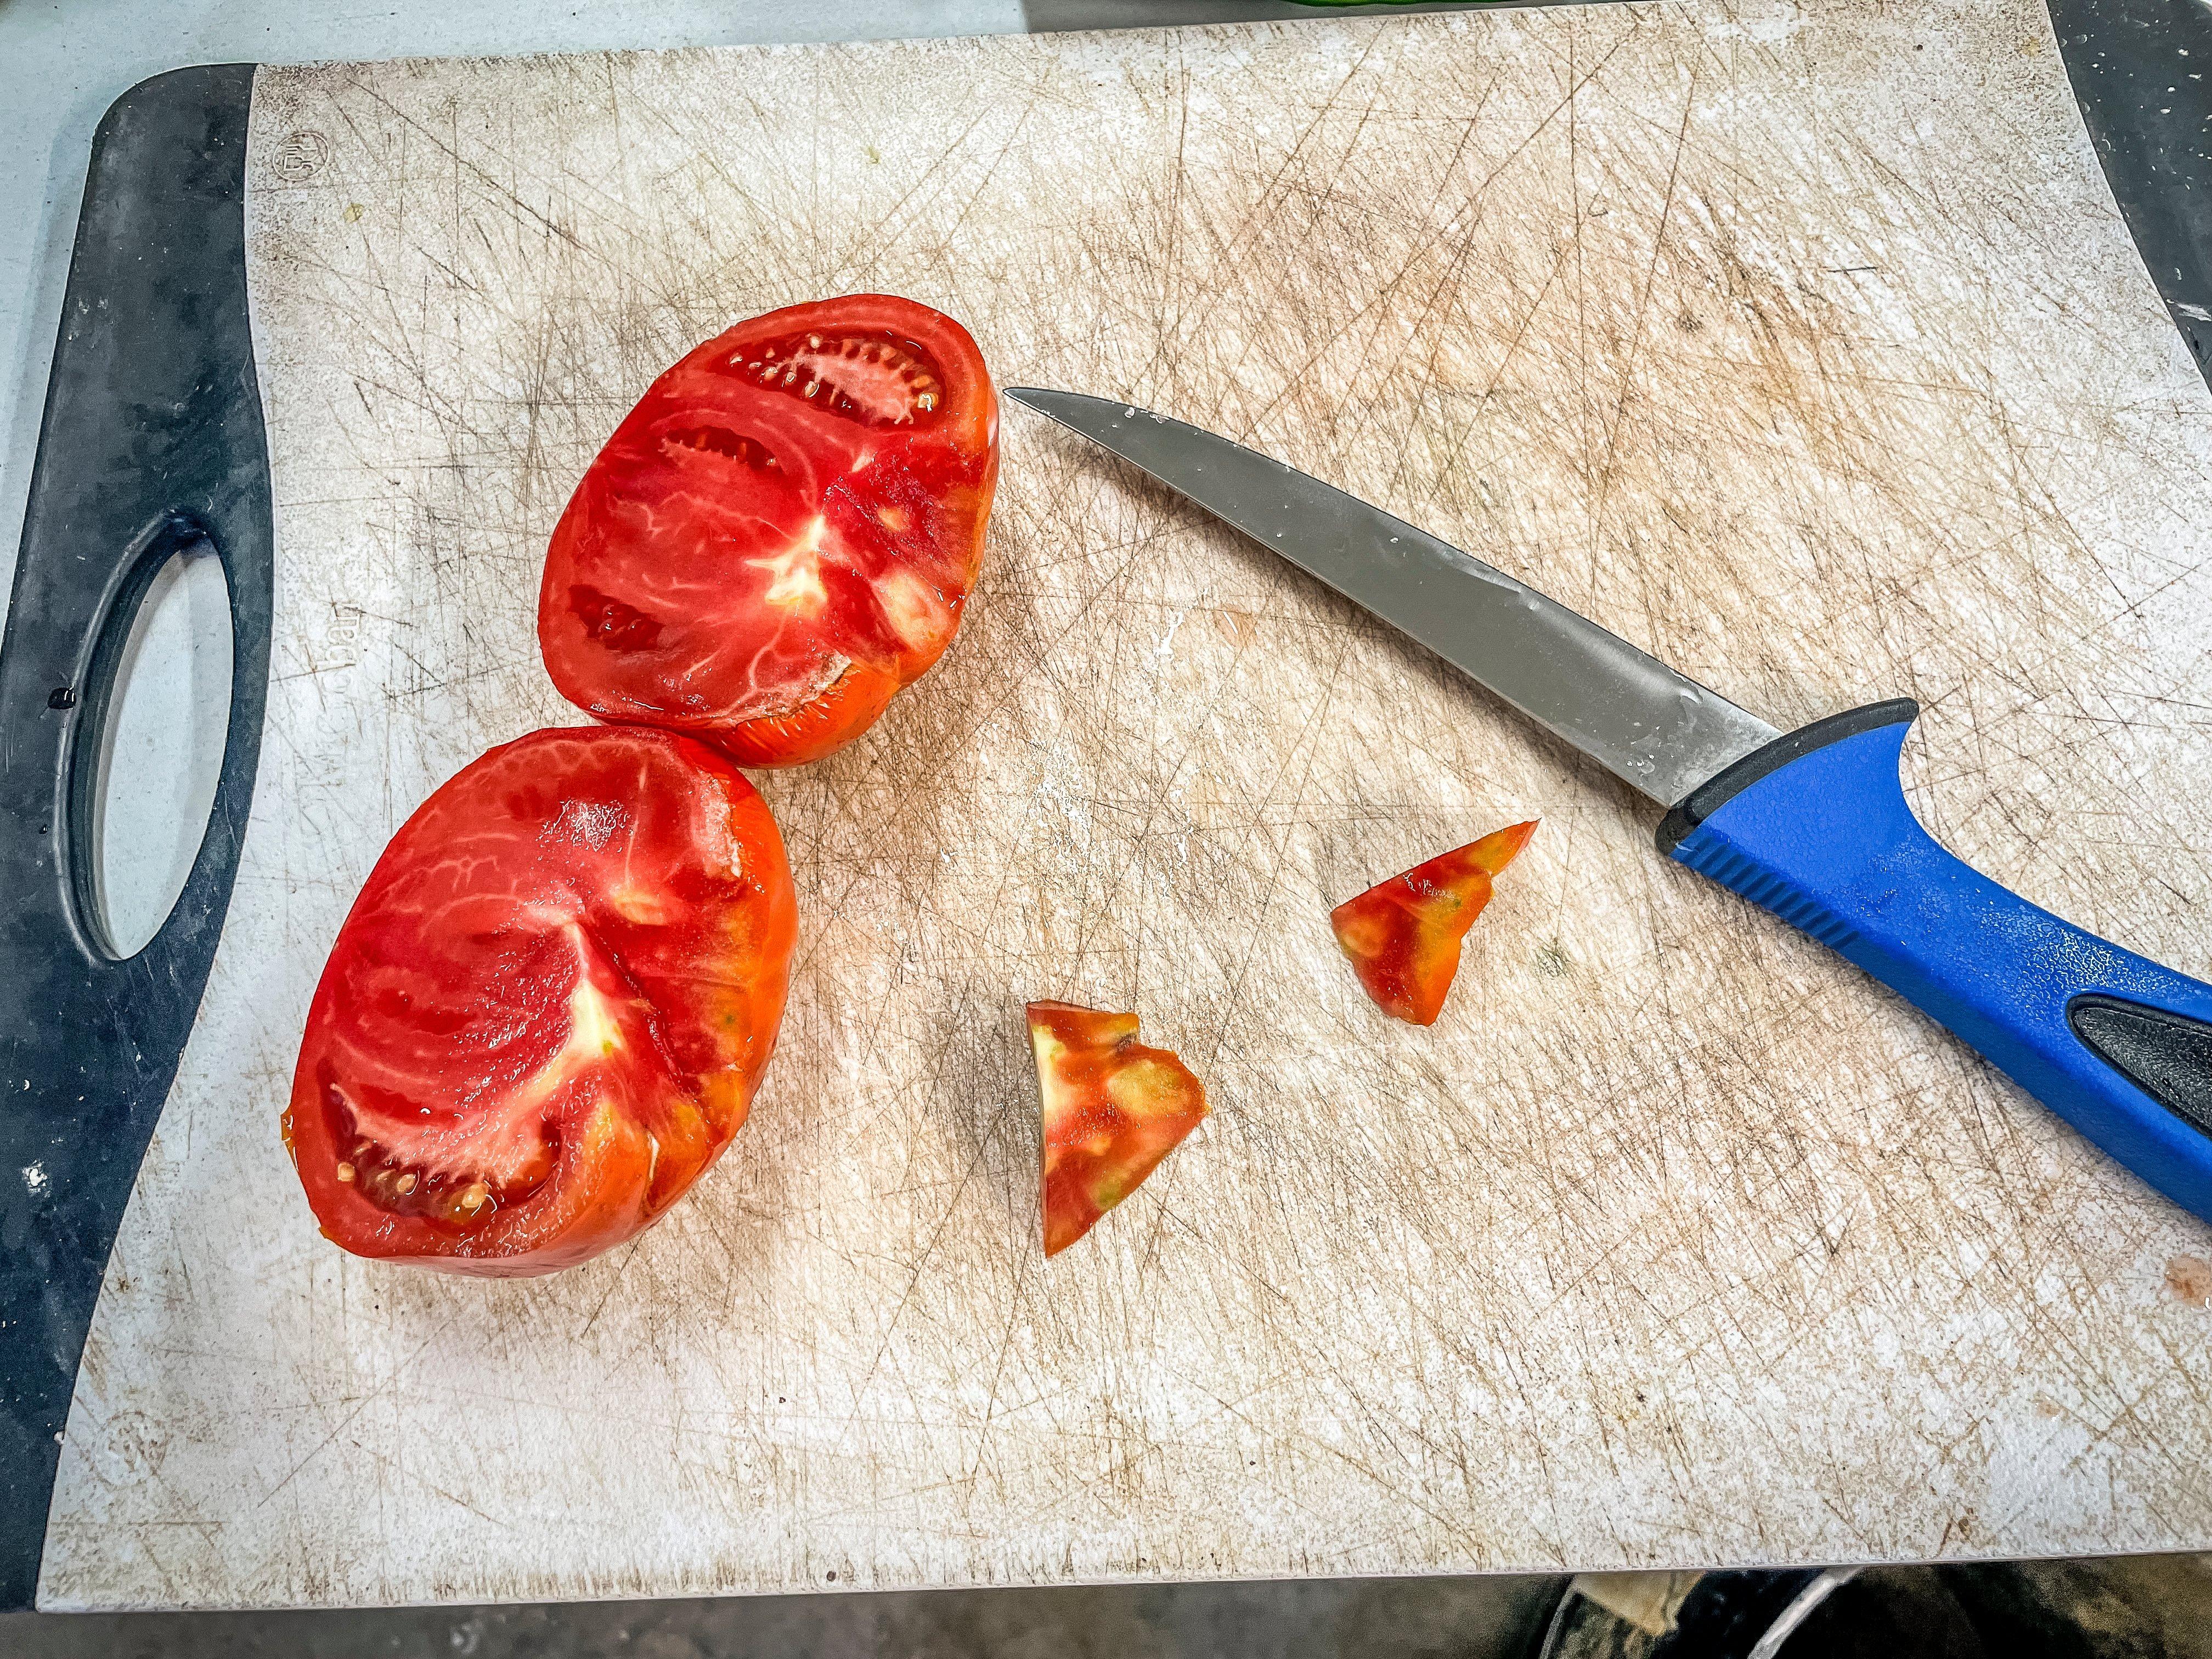
When it comes to peeling tomatoes for salsa, the choice is yours. Some people don’t mind chucks of peel in the finished product; others like a smoother salsa. Count me among the latter. I prefer to use skinless tomatoes. While the old-fashioned way of skinning tomatoes required blanching the tomatoes in boiling water for a few seconds before transferring them to an ice bath, there’s a better way. And I think it adds a little more flavor to the finished product. My preferred way to skin tomatoes is to slice them in half, top to bottom, then remove the core.
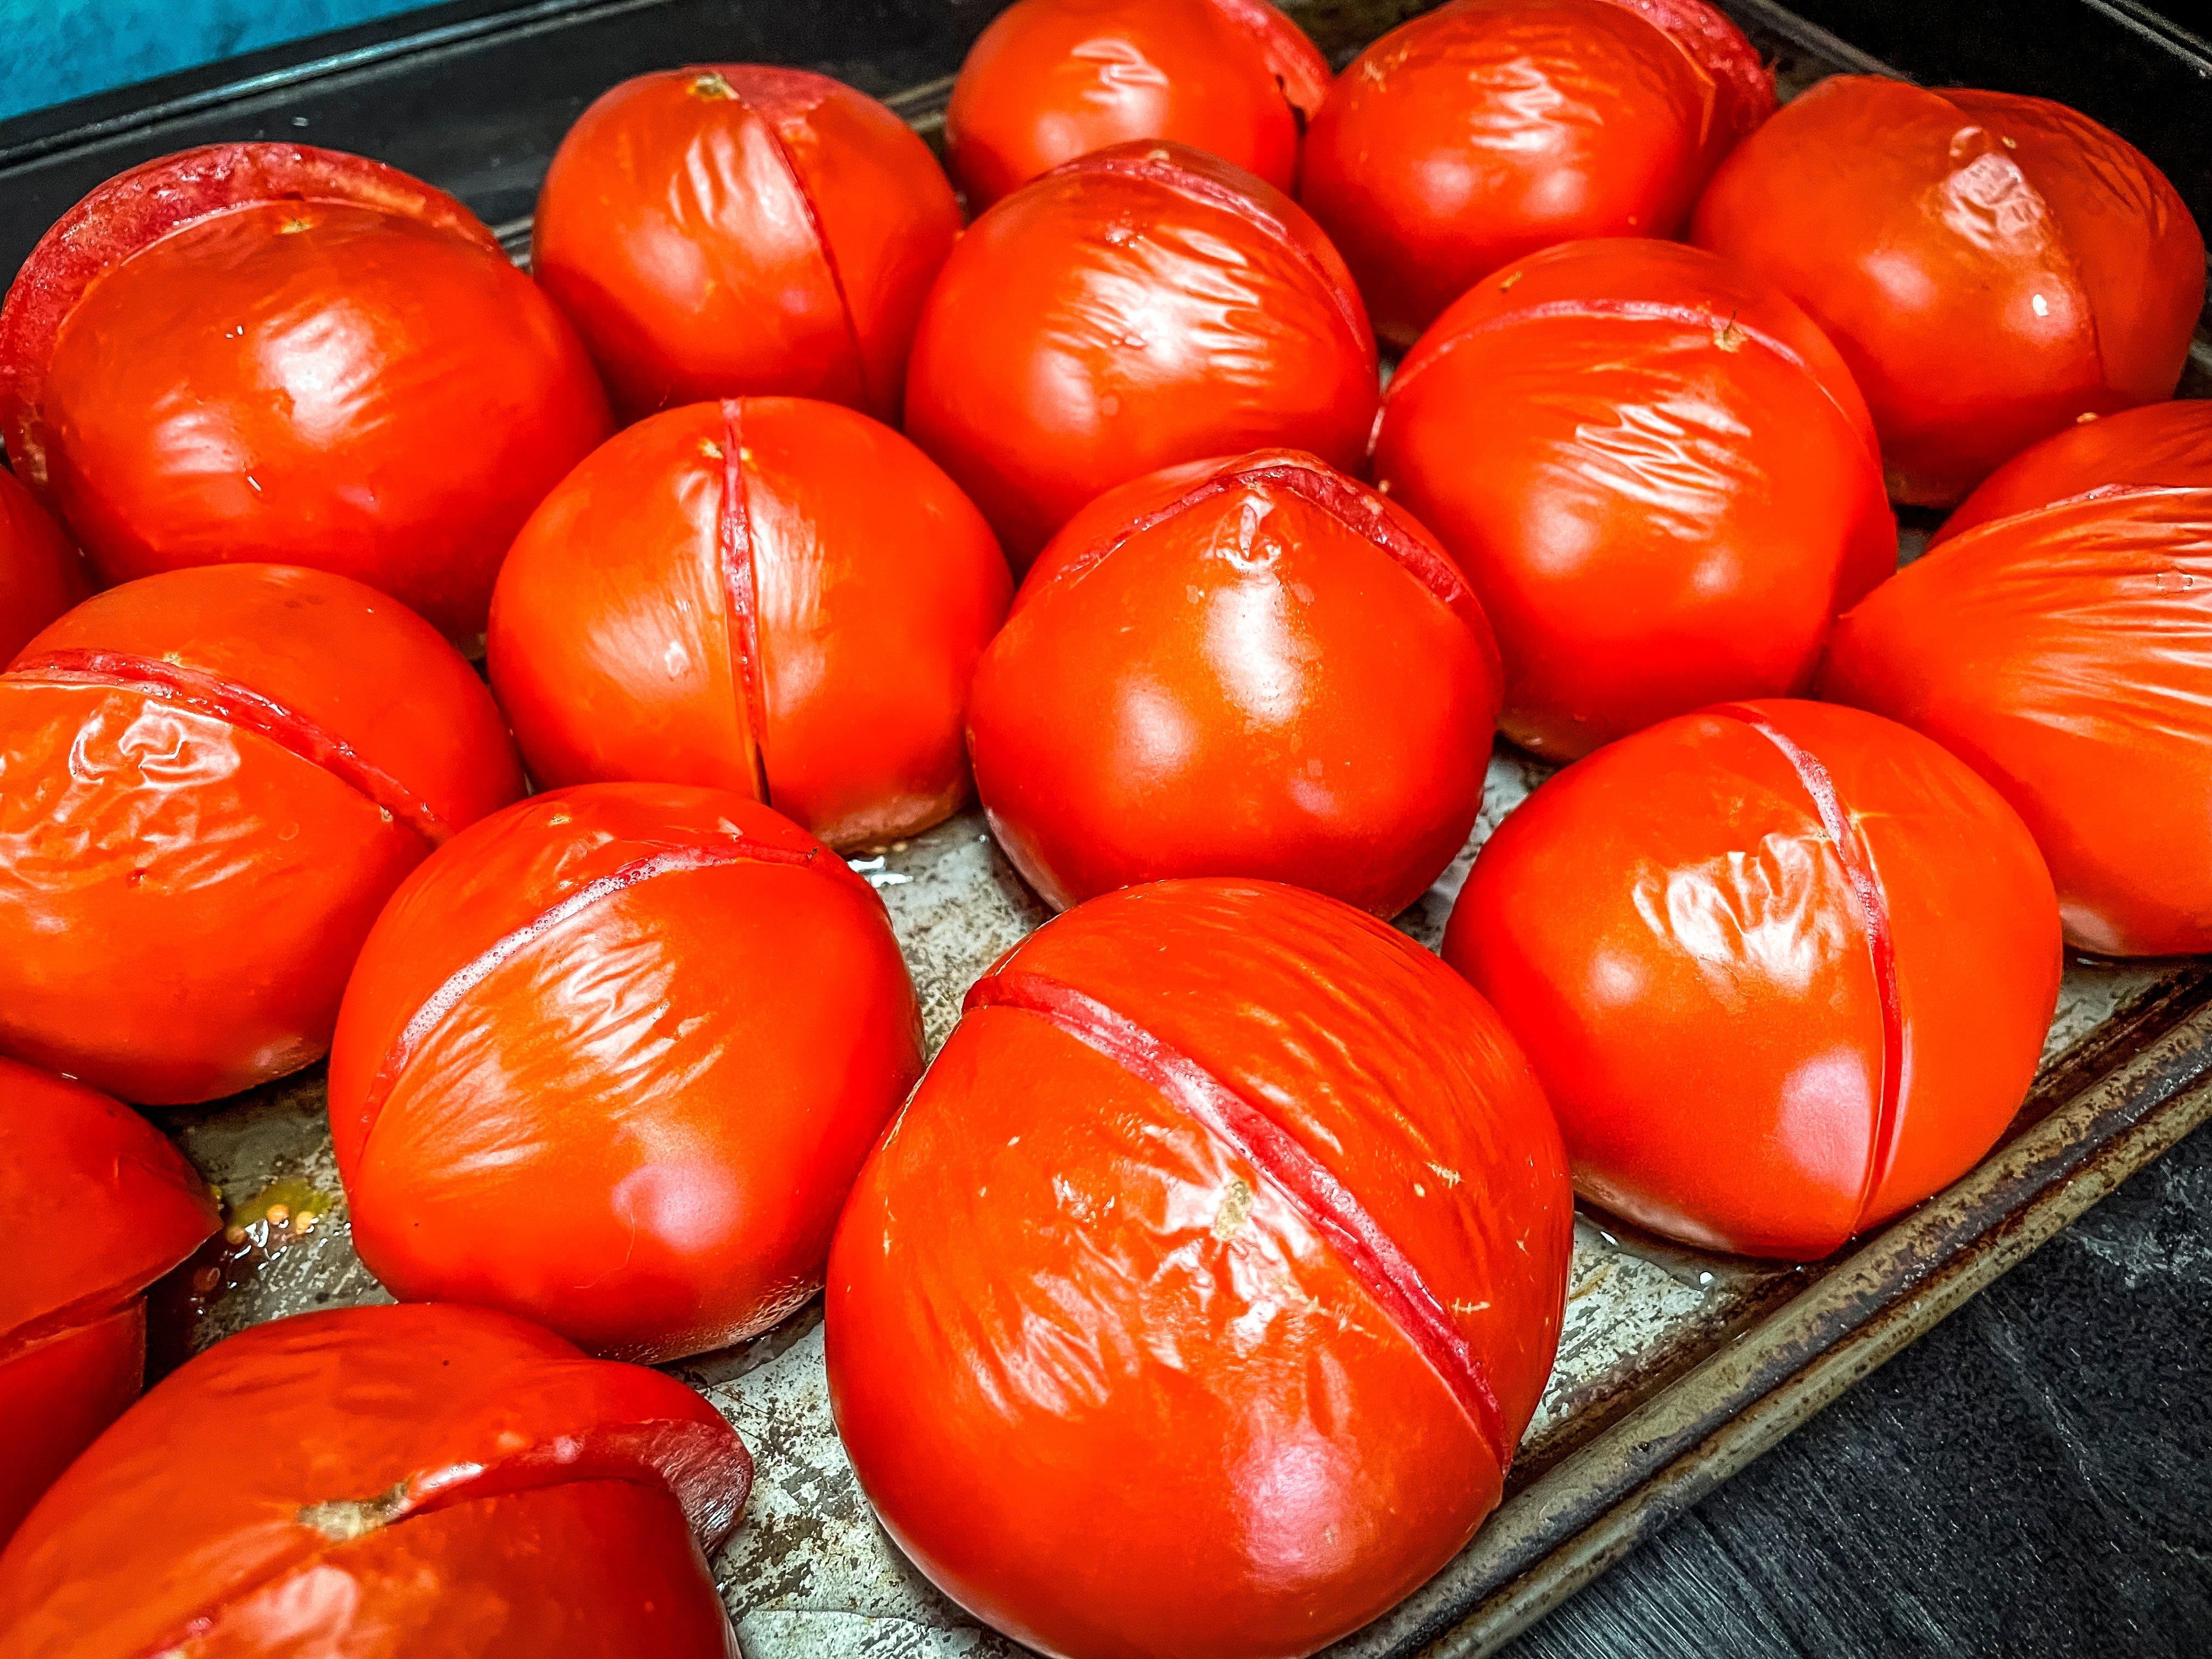
Place the tomatoes, skin side up or even standing side by side, on a baking sheet. Preheat your broiler. Once the oven is hot, run the tomatoes under the broiler for 3-4 minutes — just long enough for the skin to blister and wrinkle. Once that happens, remove the tomatoes from the oven and allow them to cool. The skin should easily slip off at this point. I think the broiler method adds a roasted note and concentrates the tomato flavor. From there, you are ready to make your salsa.
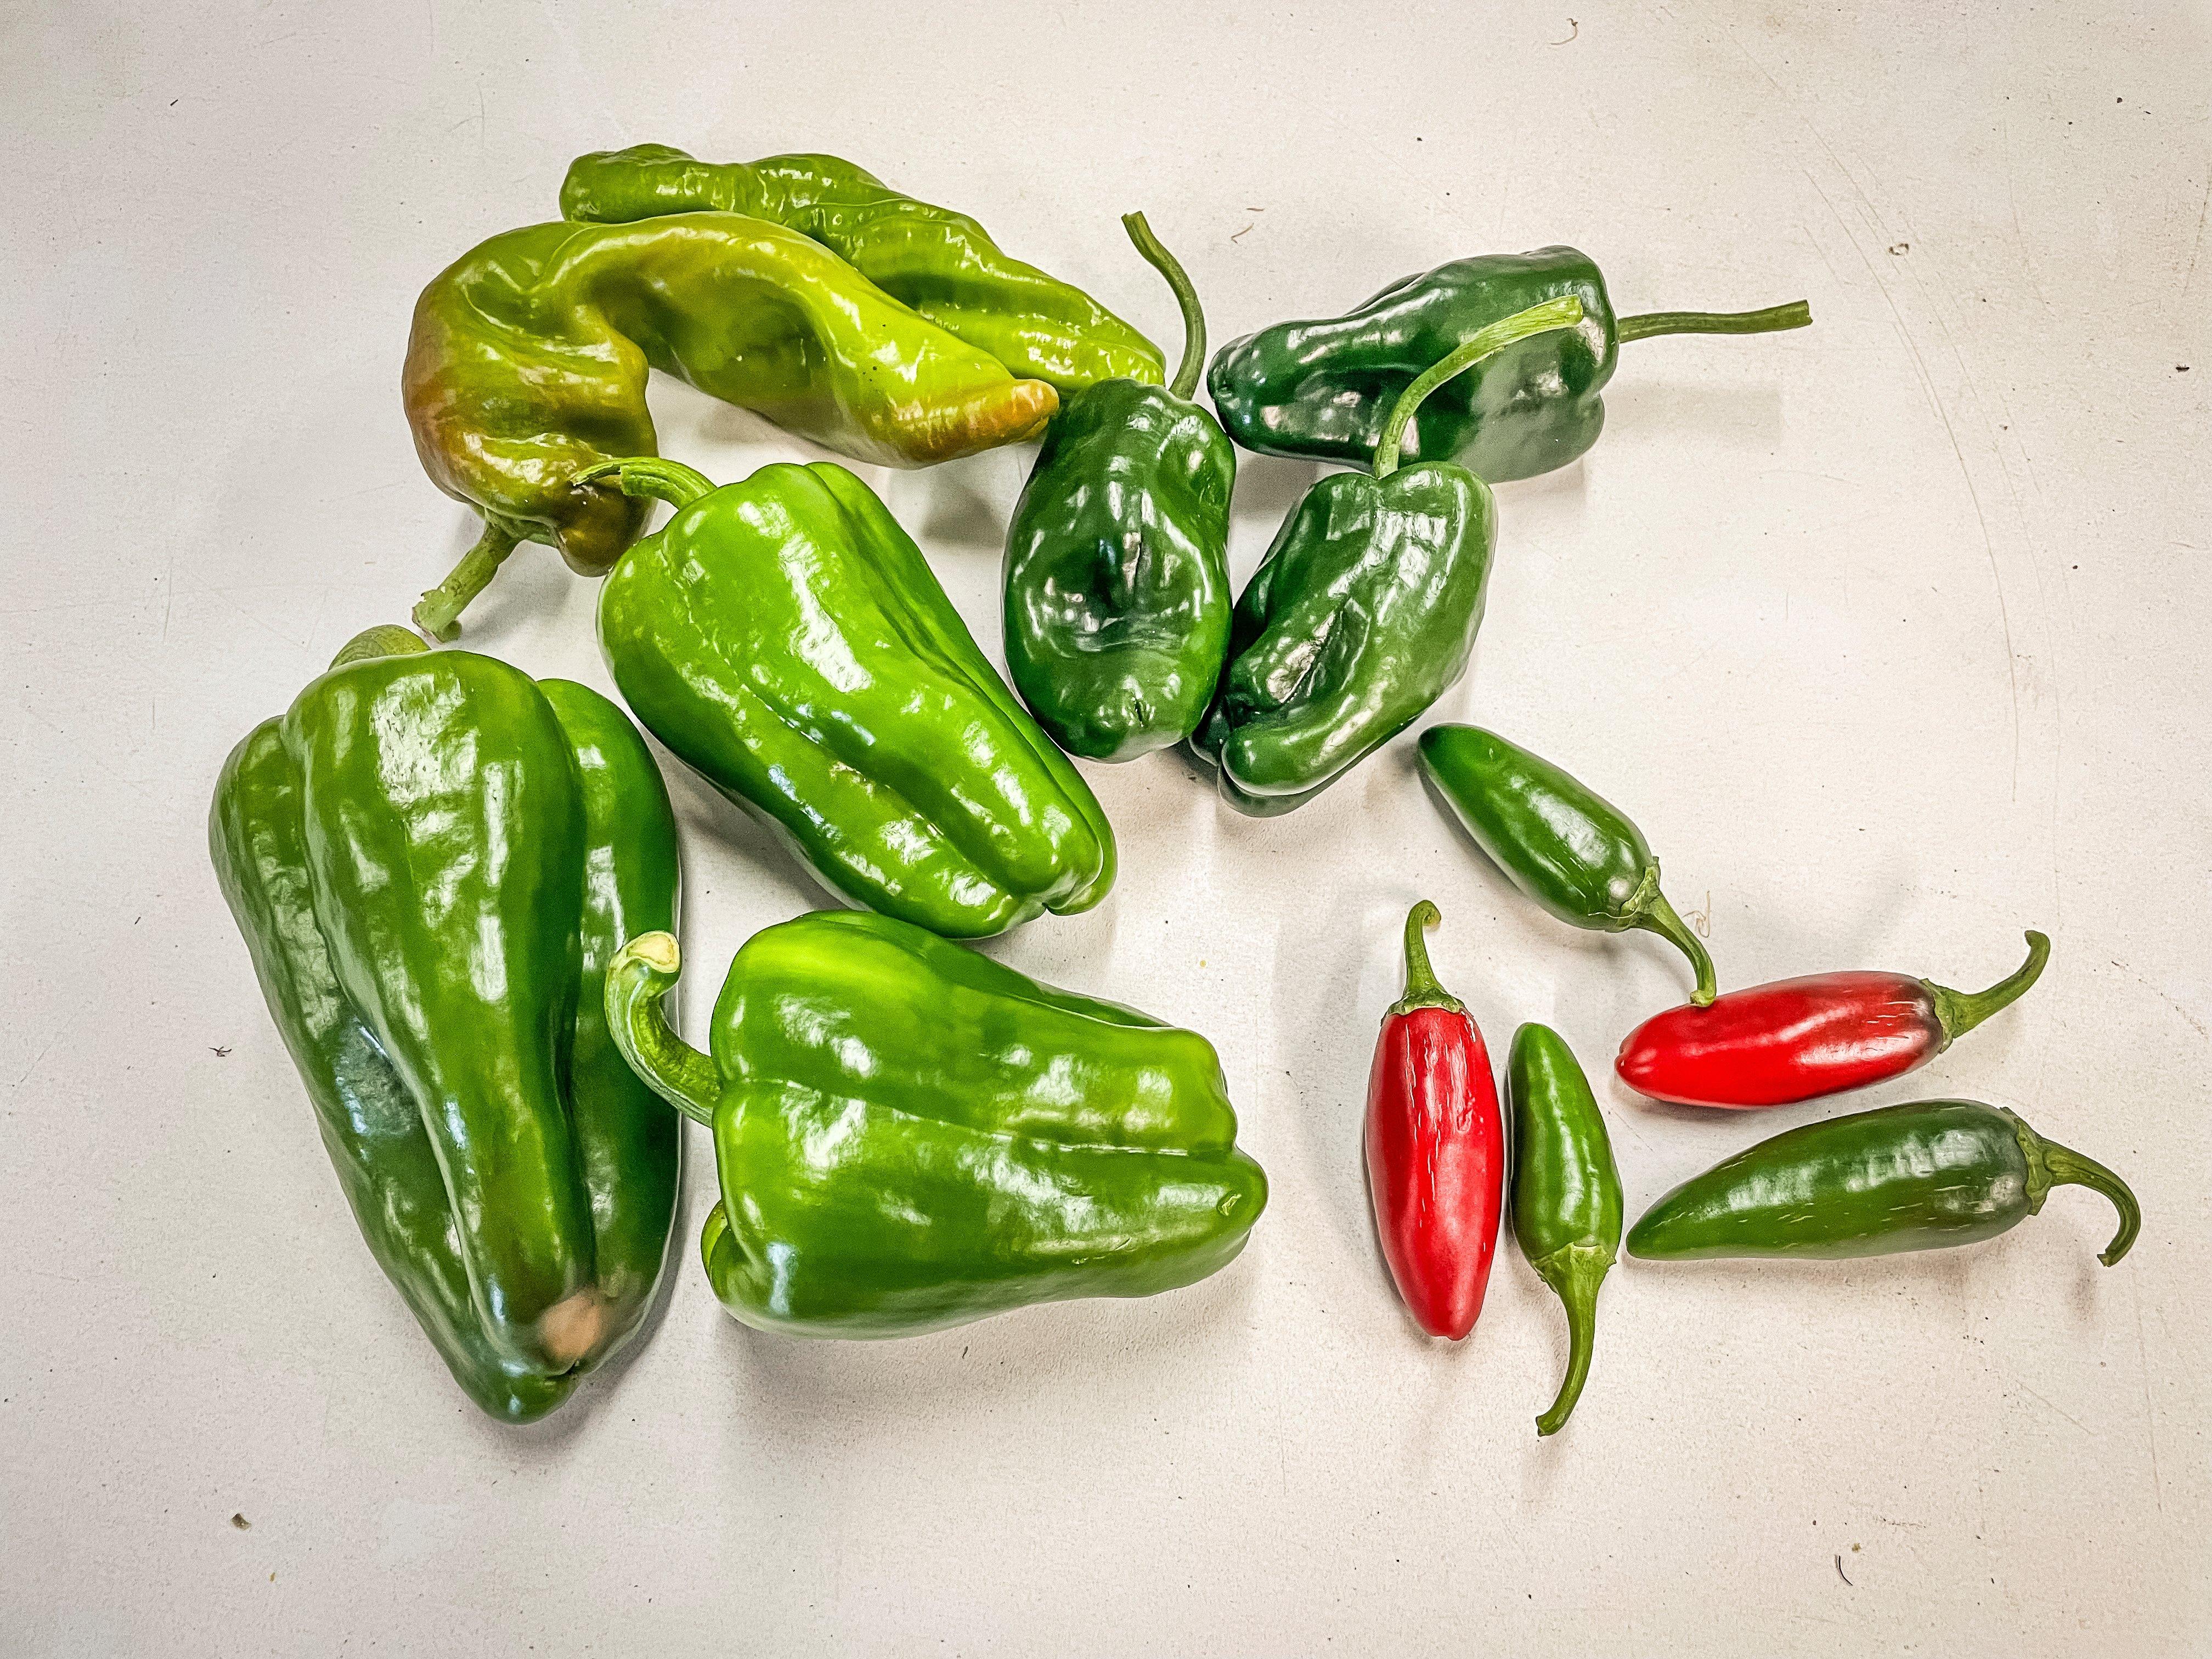
Pepper selection is a personal choice. We used a blend of bell, jalapeño, poblano, and cubanelle, mainly because that is what was ripe. Want hotter salsa? Use more jalapeño or even add a little Scotch bonnet or habanero. Want milder salsa? Go with more bell and poblano, seed the jalapeño, or leave out the red pepper flakes.
When it comes to cilantro, add it or don’t depending on your tastes. An estimated 5% to 10% of people with European ancestry have a genetic variant that makes cilantro tastes bad, usually like soap. My wife and youngest son are two of those folks, so we usually leave it out. This recipe will make 10-12 pints of finished salsa, depending on tomato size.
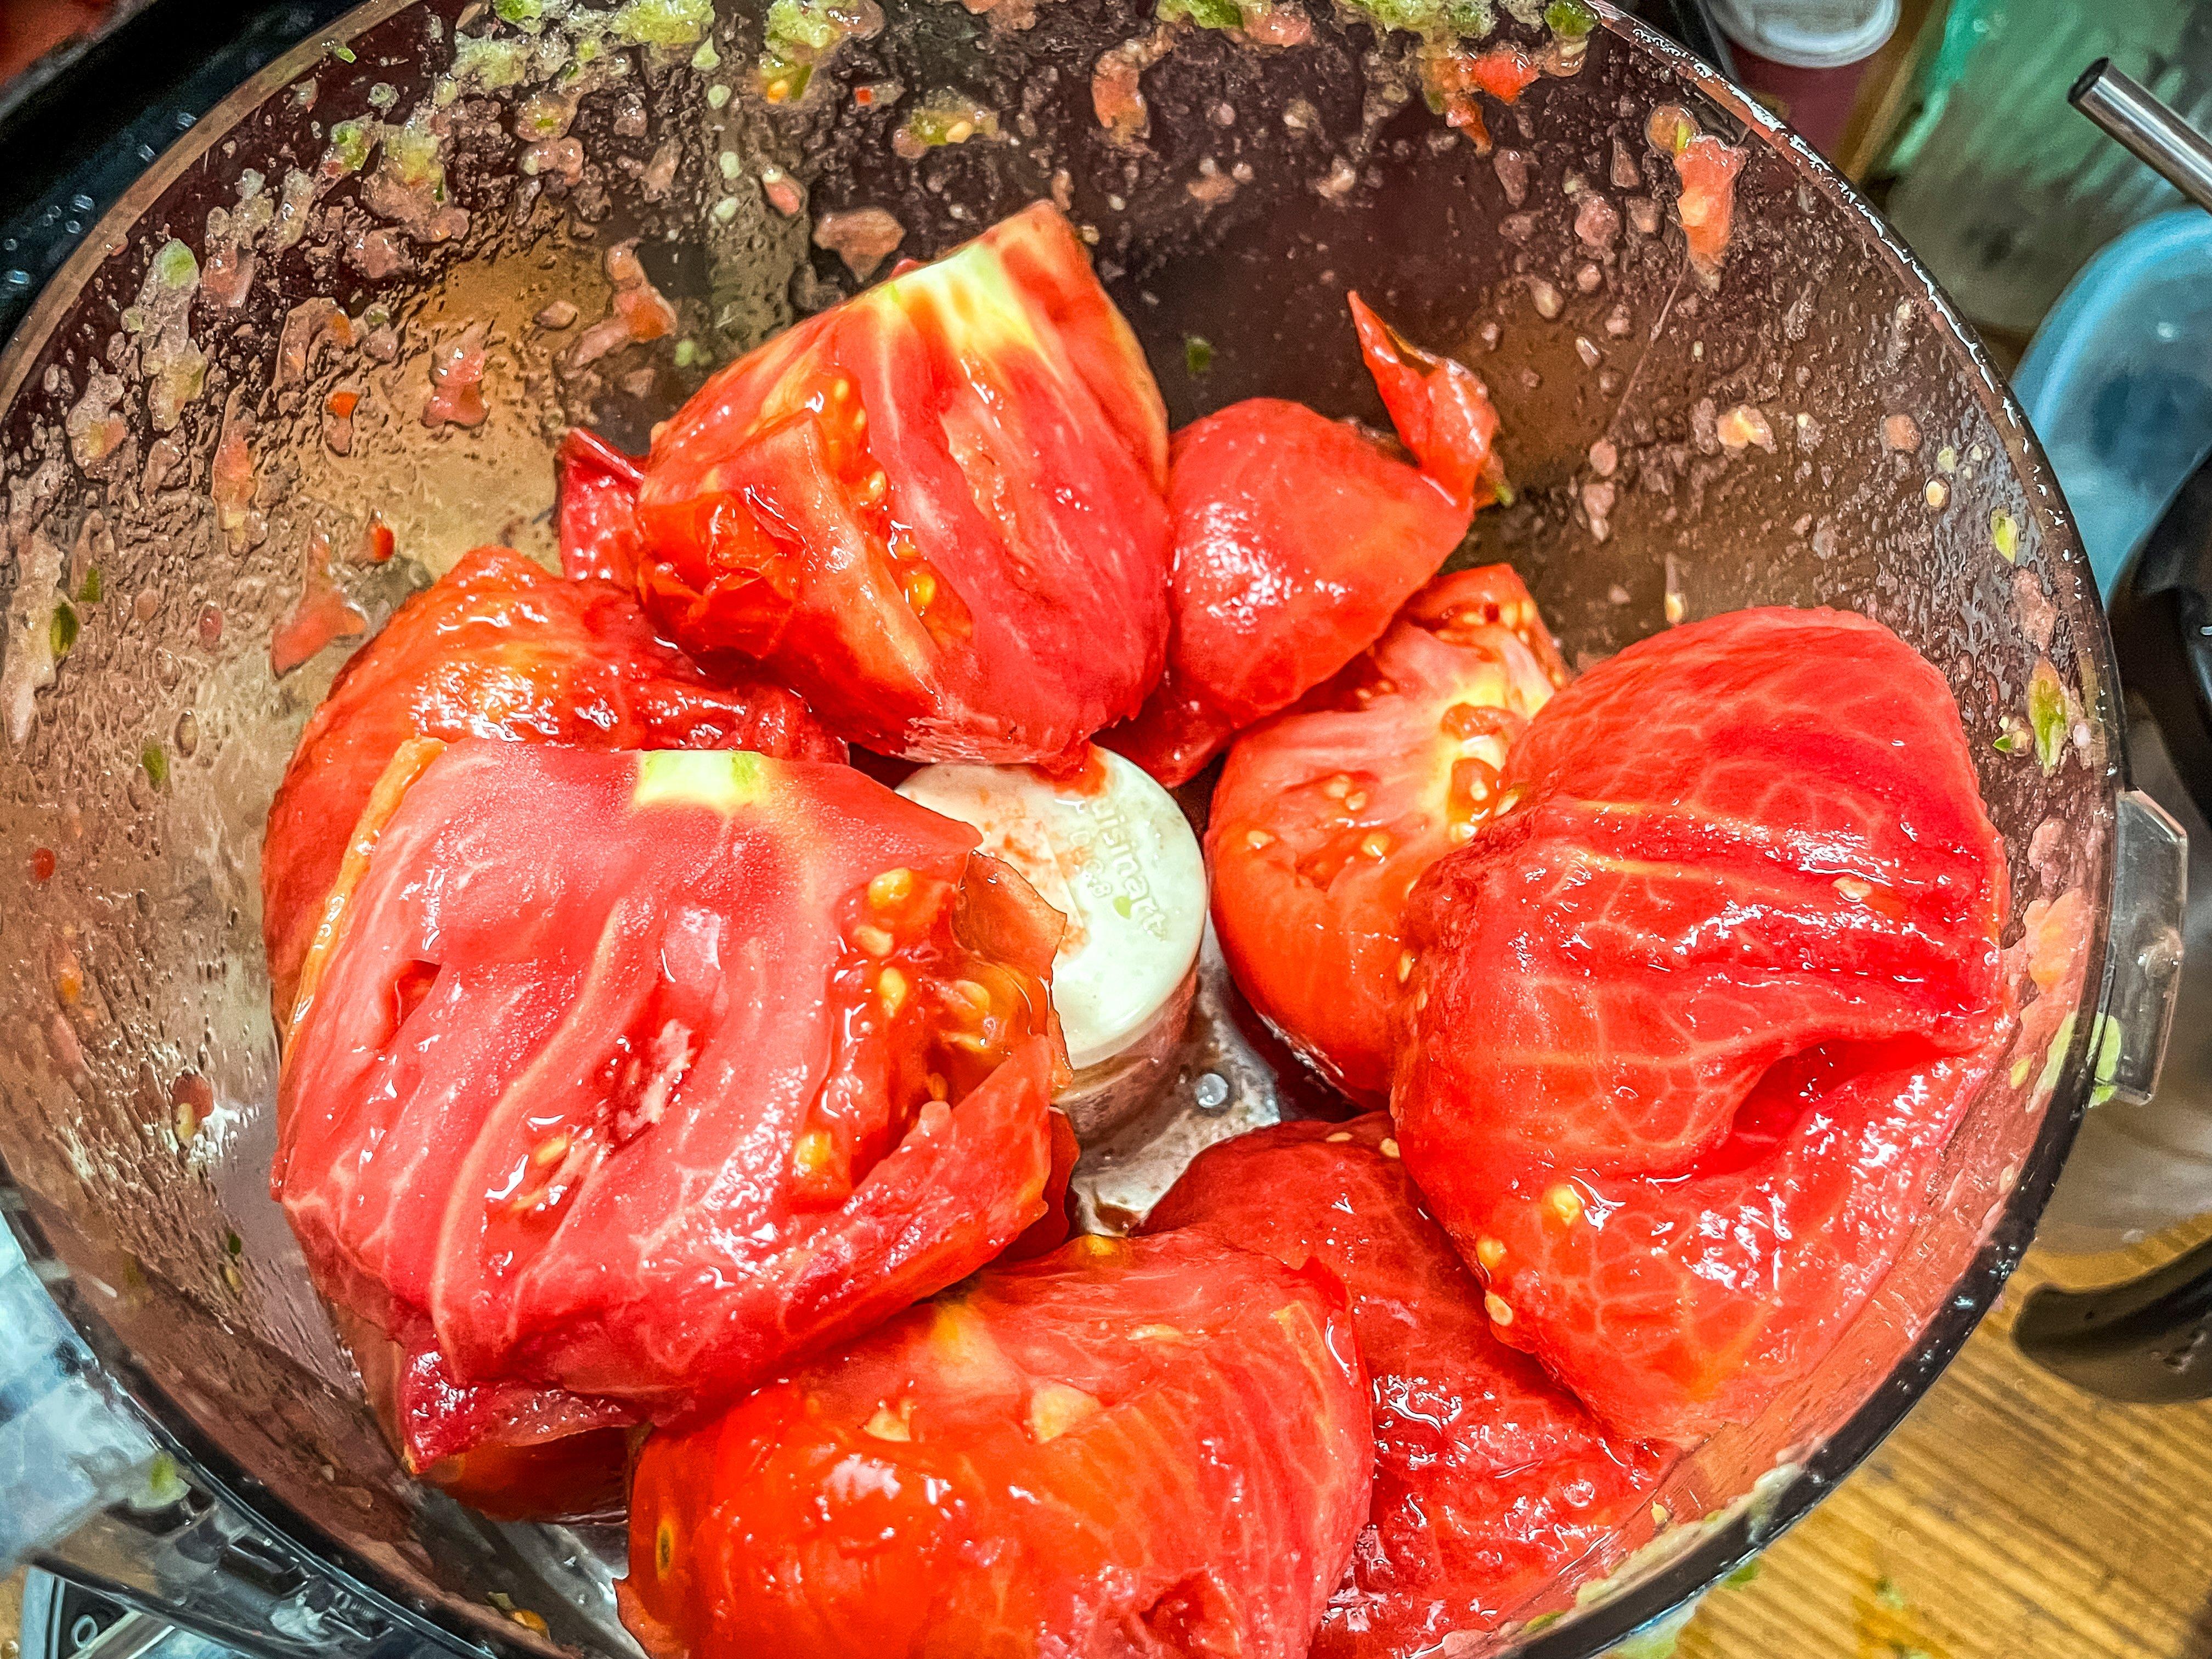
Run the peeled tomatoes through a food processor, in batches.
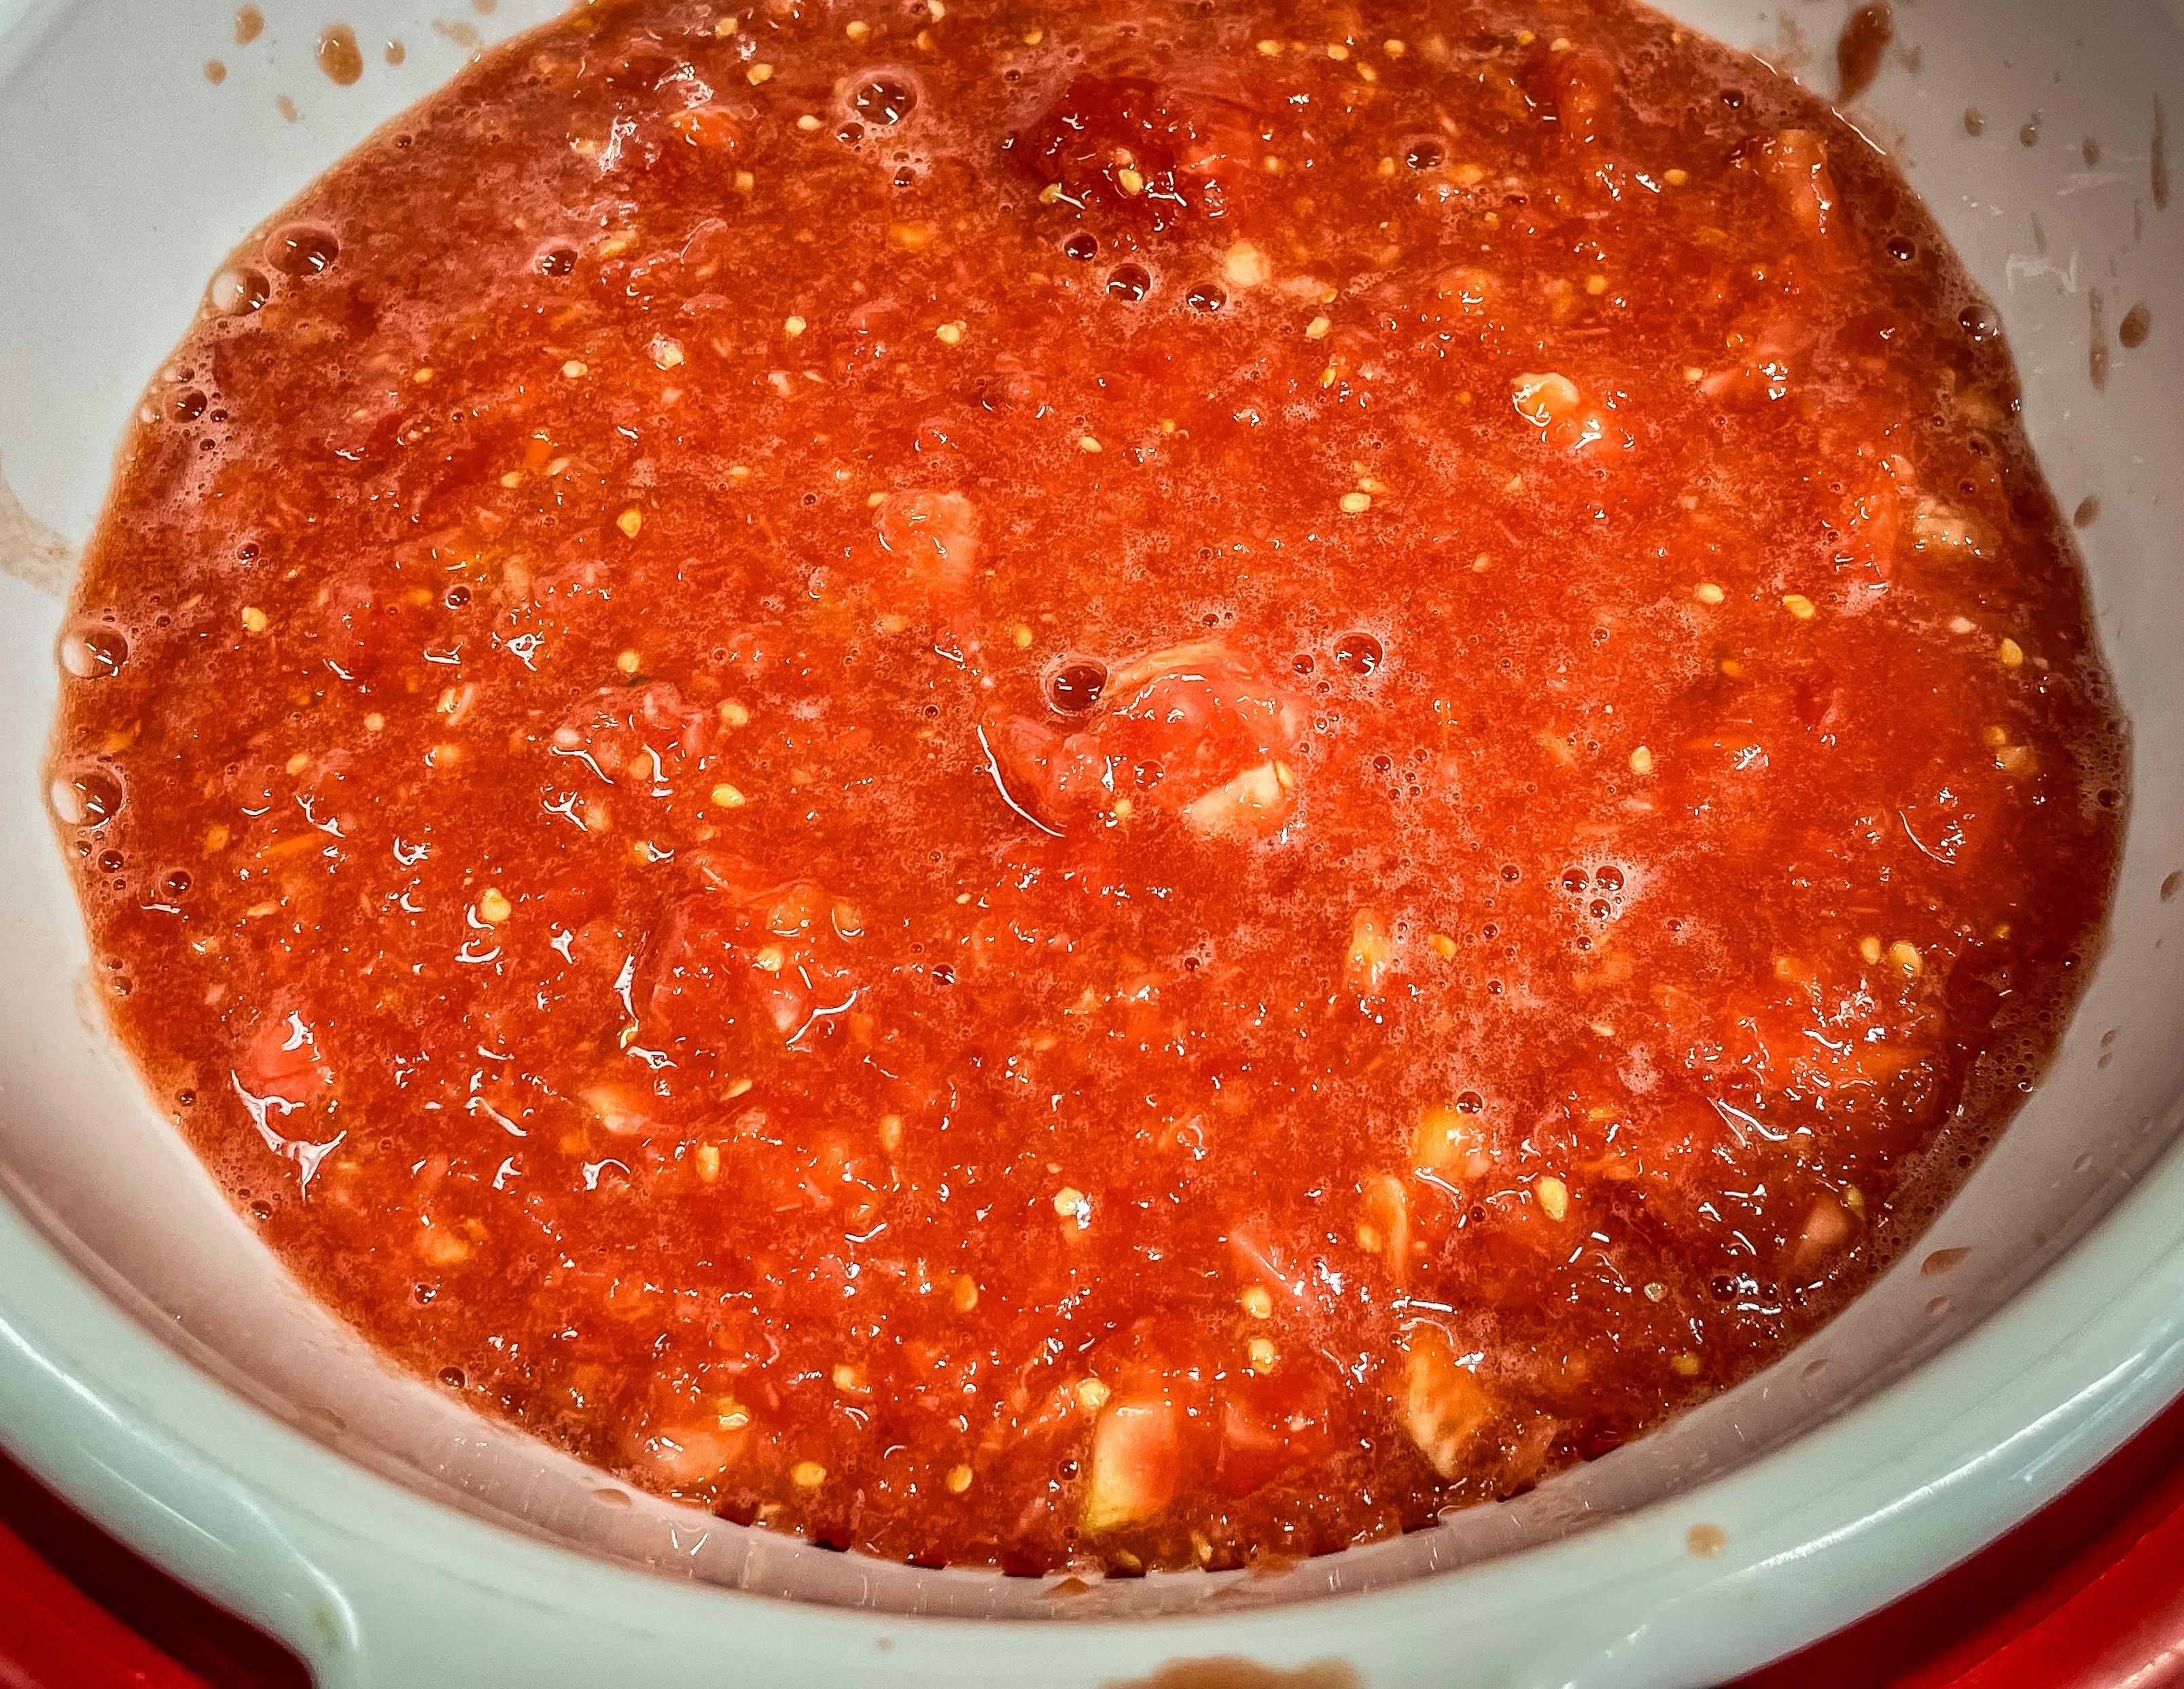
If you want your salsa thin, dump directly from the processor into a very large bowl or pan. If you prefer your salsa a bit chunkier, pour the tomatoes into a strainer to drain some of the juice before you add them to your bowl.
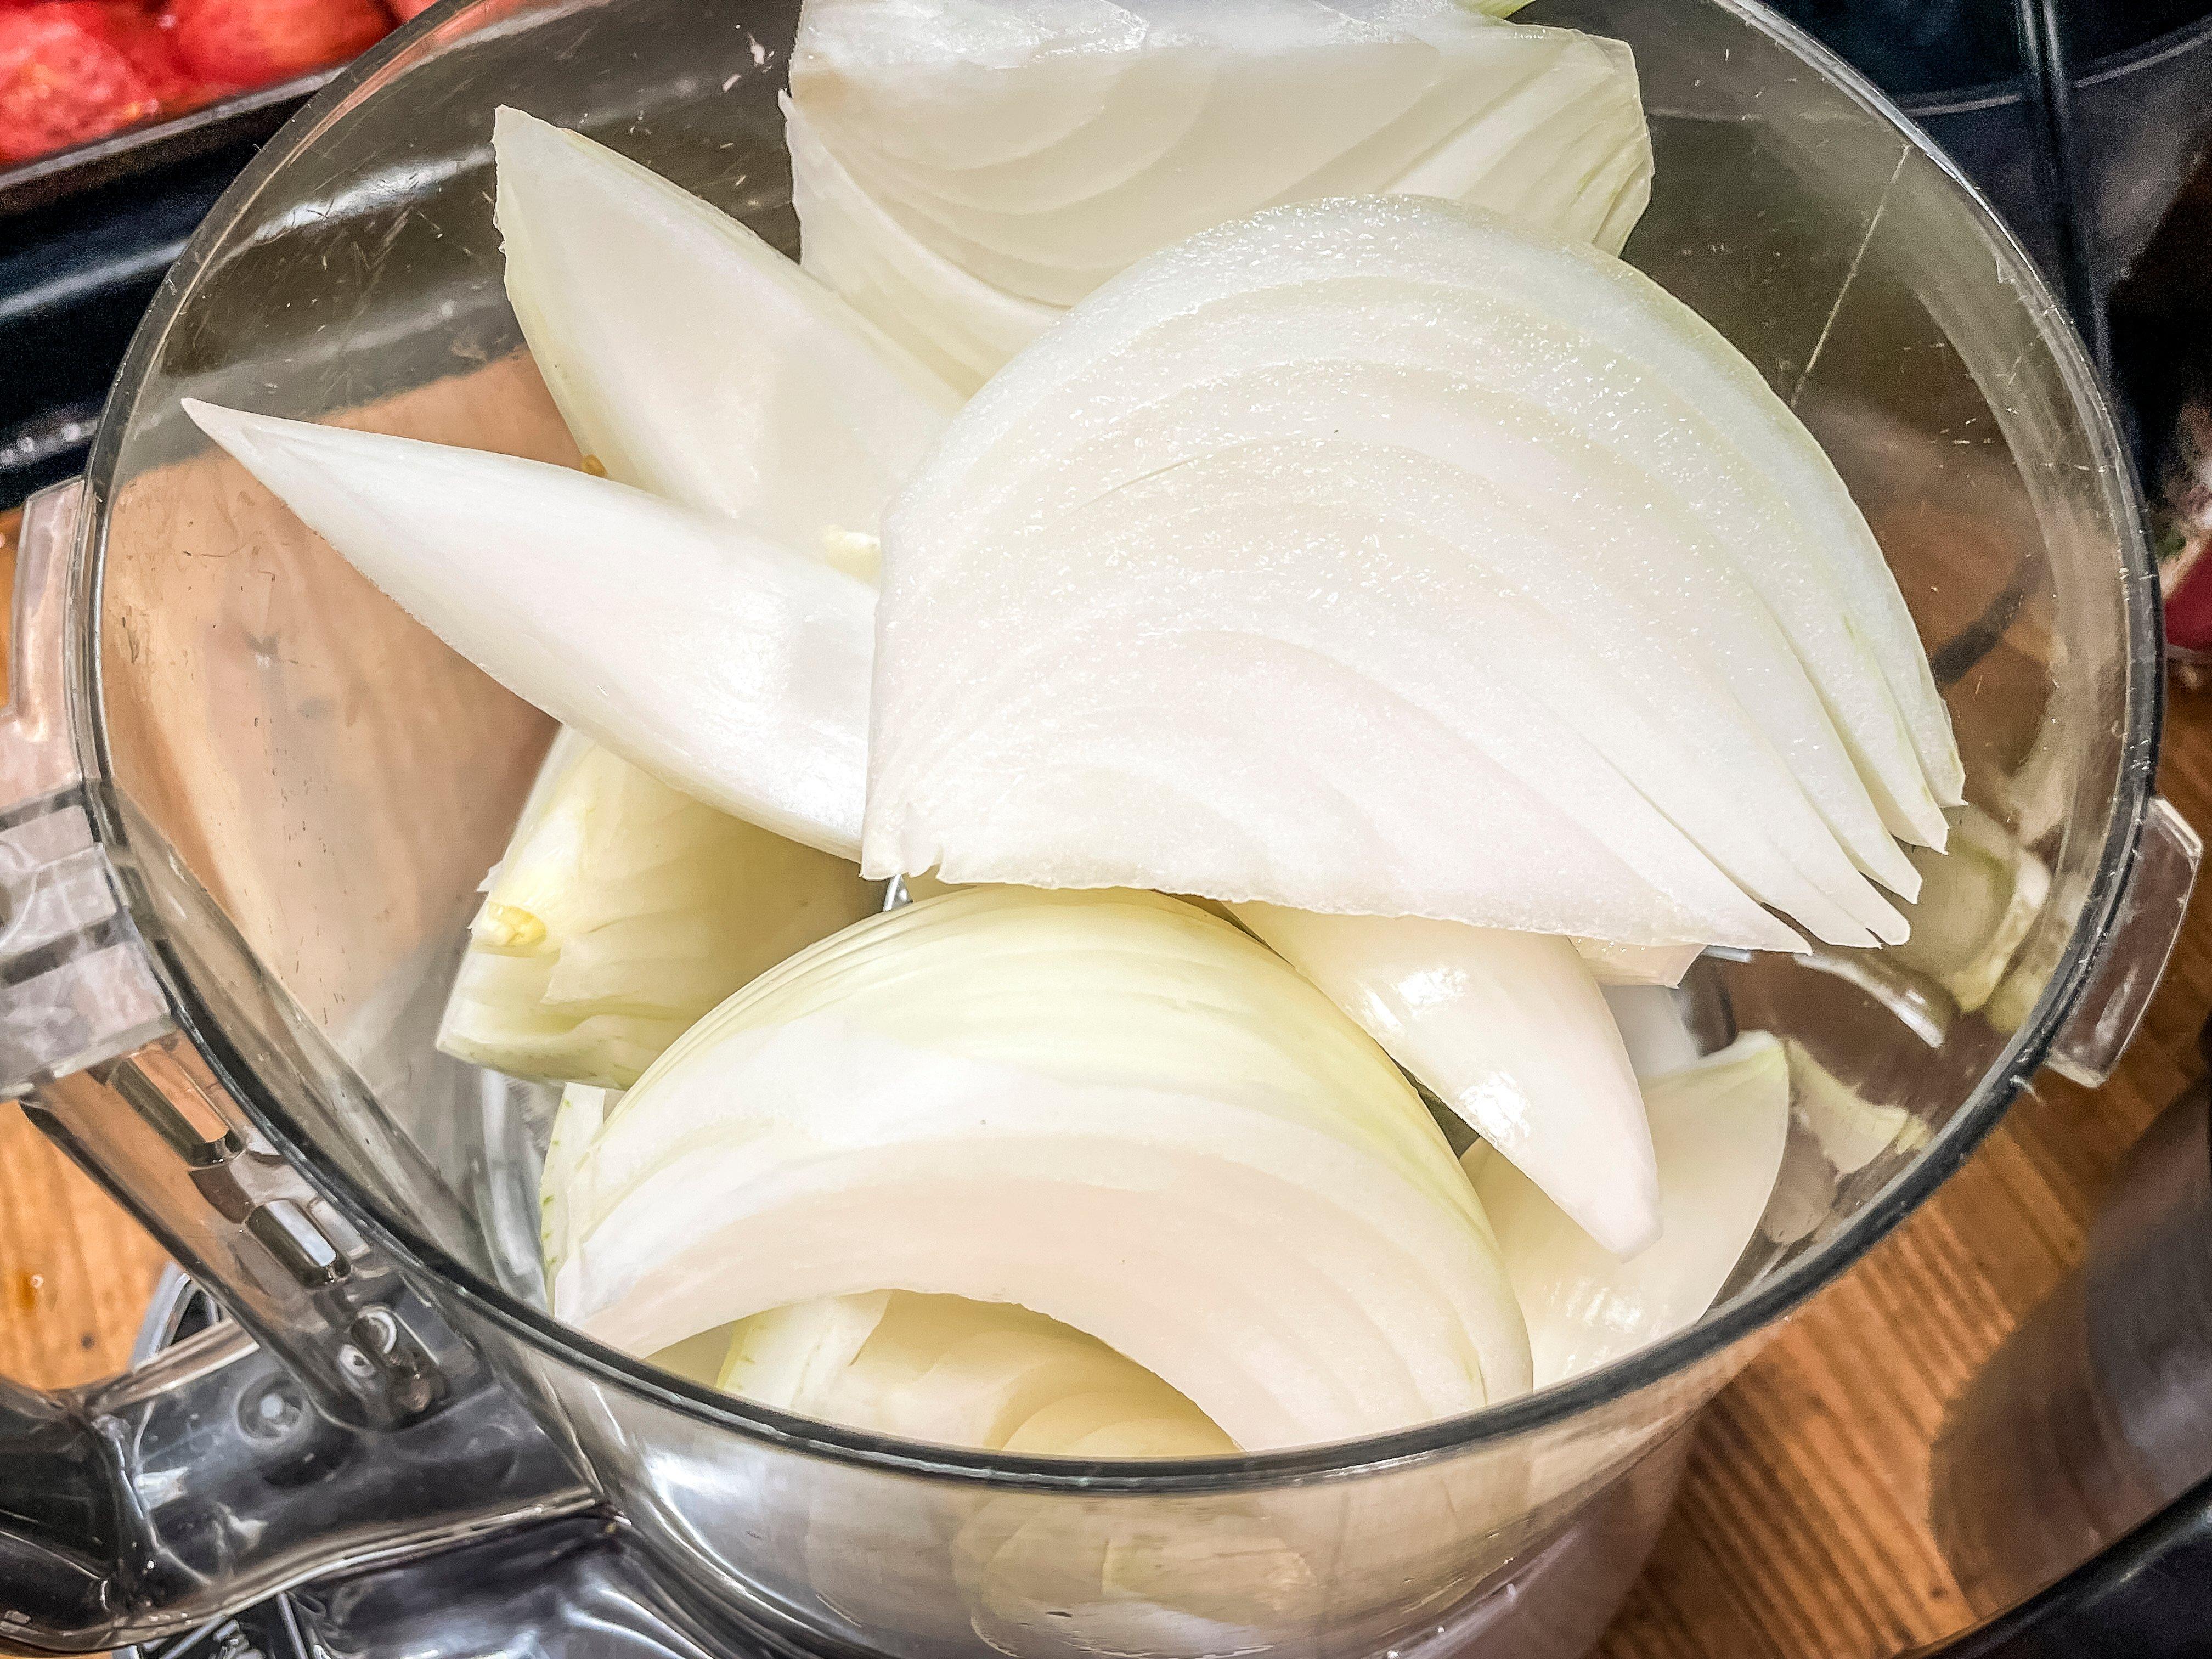
Once the tomatoes are prepped, repeat the process with the onions, garlic, and peppers. Add to the bowl and stir well to blend with the tomatoes.
Add the vinegar and remaining ingredients. Stir well. Give the salsa a taste. If it needs salt, add a bit. If it is too spicy, add more tomatoes. If it needs more heat, add another jalapeño or two or some additional red pepper flakes.
Run your jars (not the lids) through the dishwasher or hand wash in hot water and rinse well.
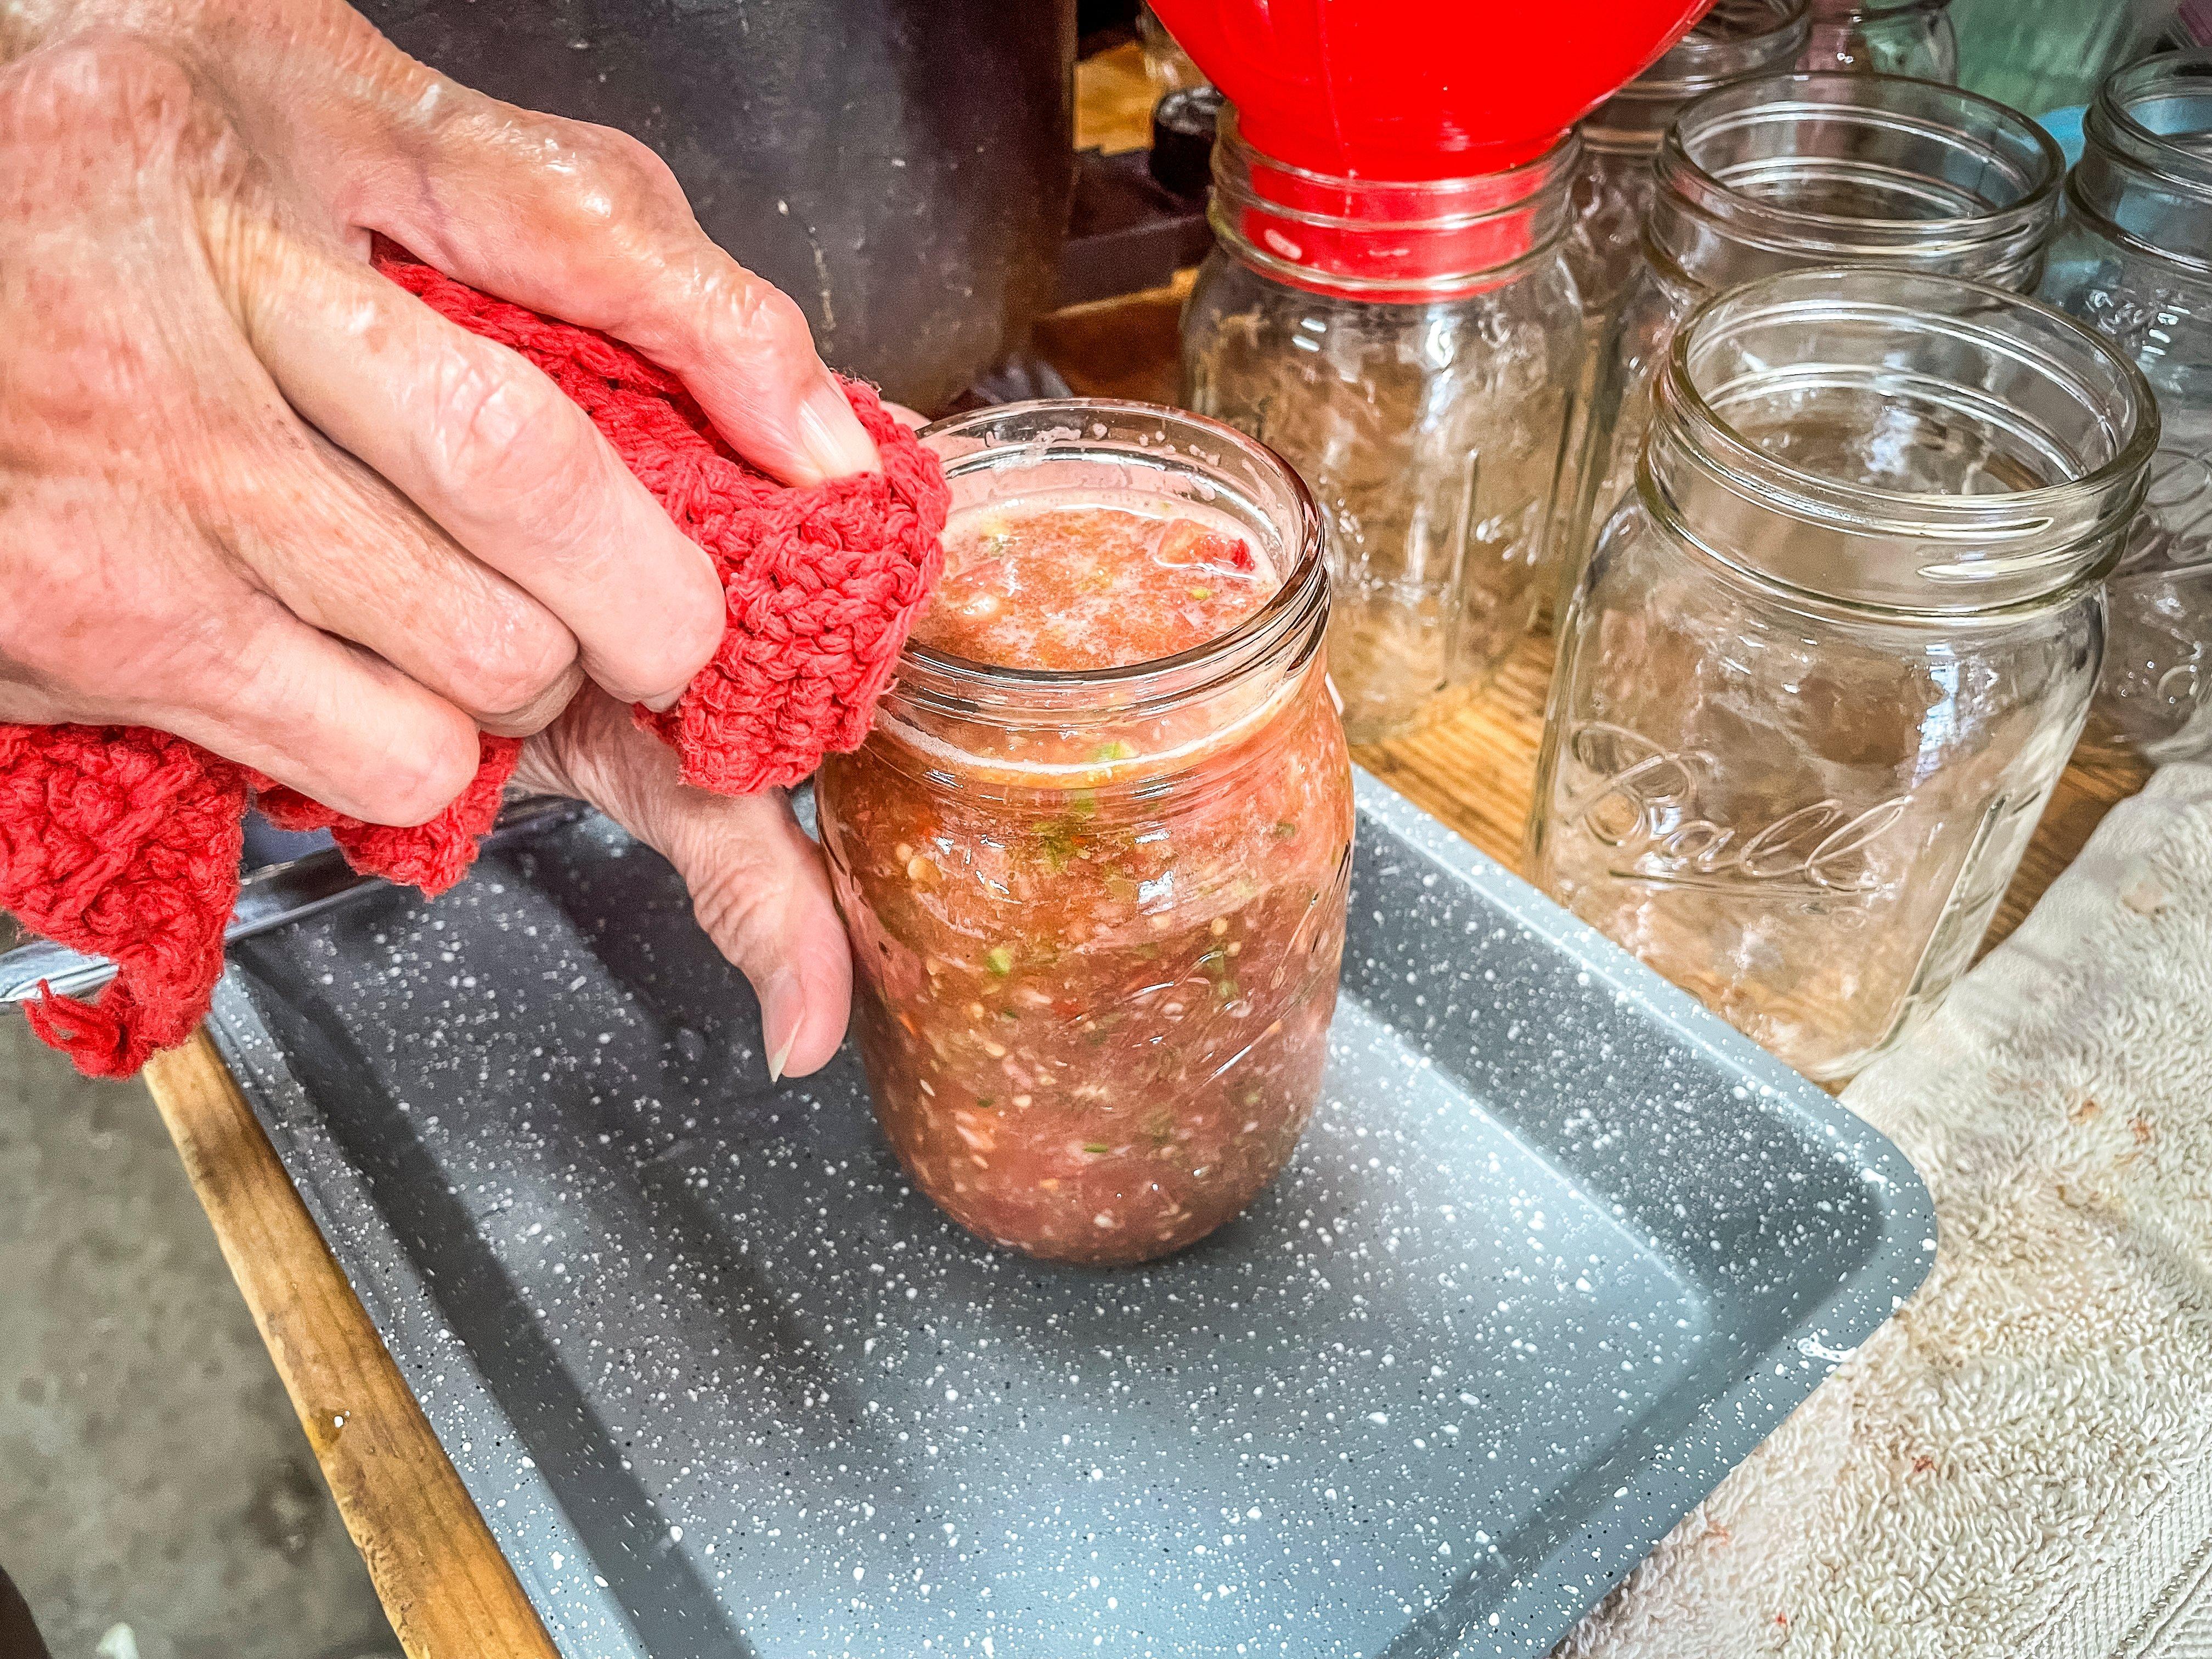
Using a small pan, measuring cup, or ladle, fill the jars to within ½ inch of the rim. A canning jar funnel helps speed the process and cut down on mess.
Use a clean cloth to wipe any salsa or liquid away from the jar rims. Any liquid or solid bits left on the jar rims can prevent sealing.
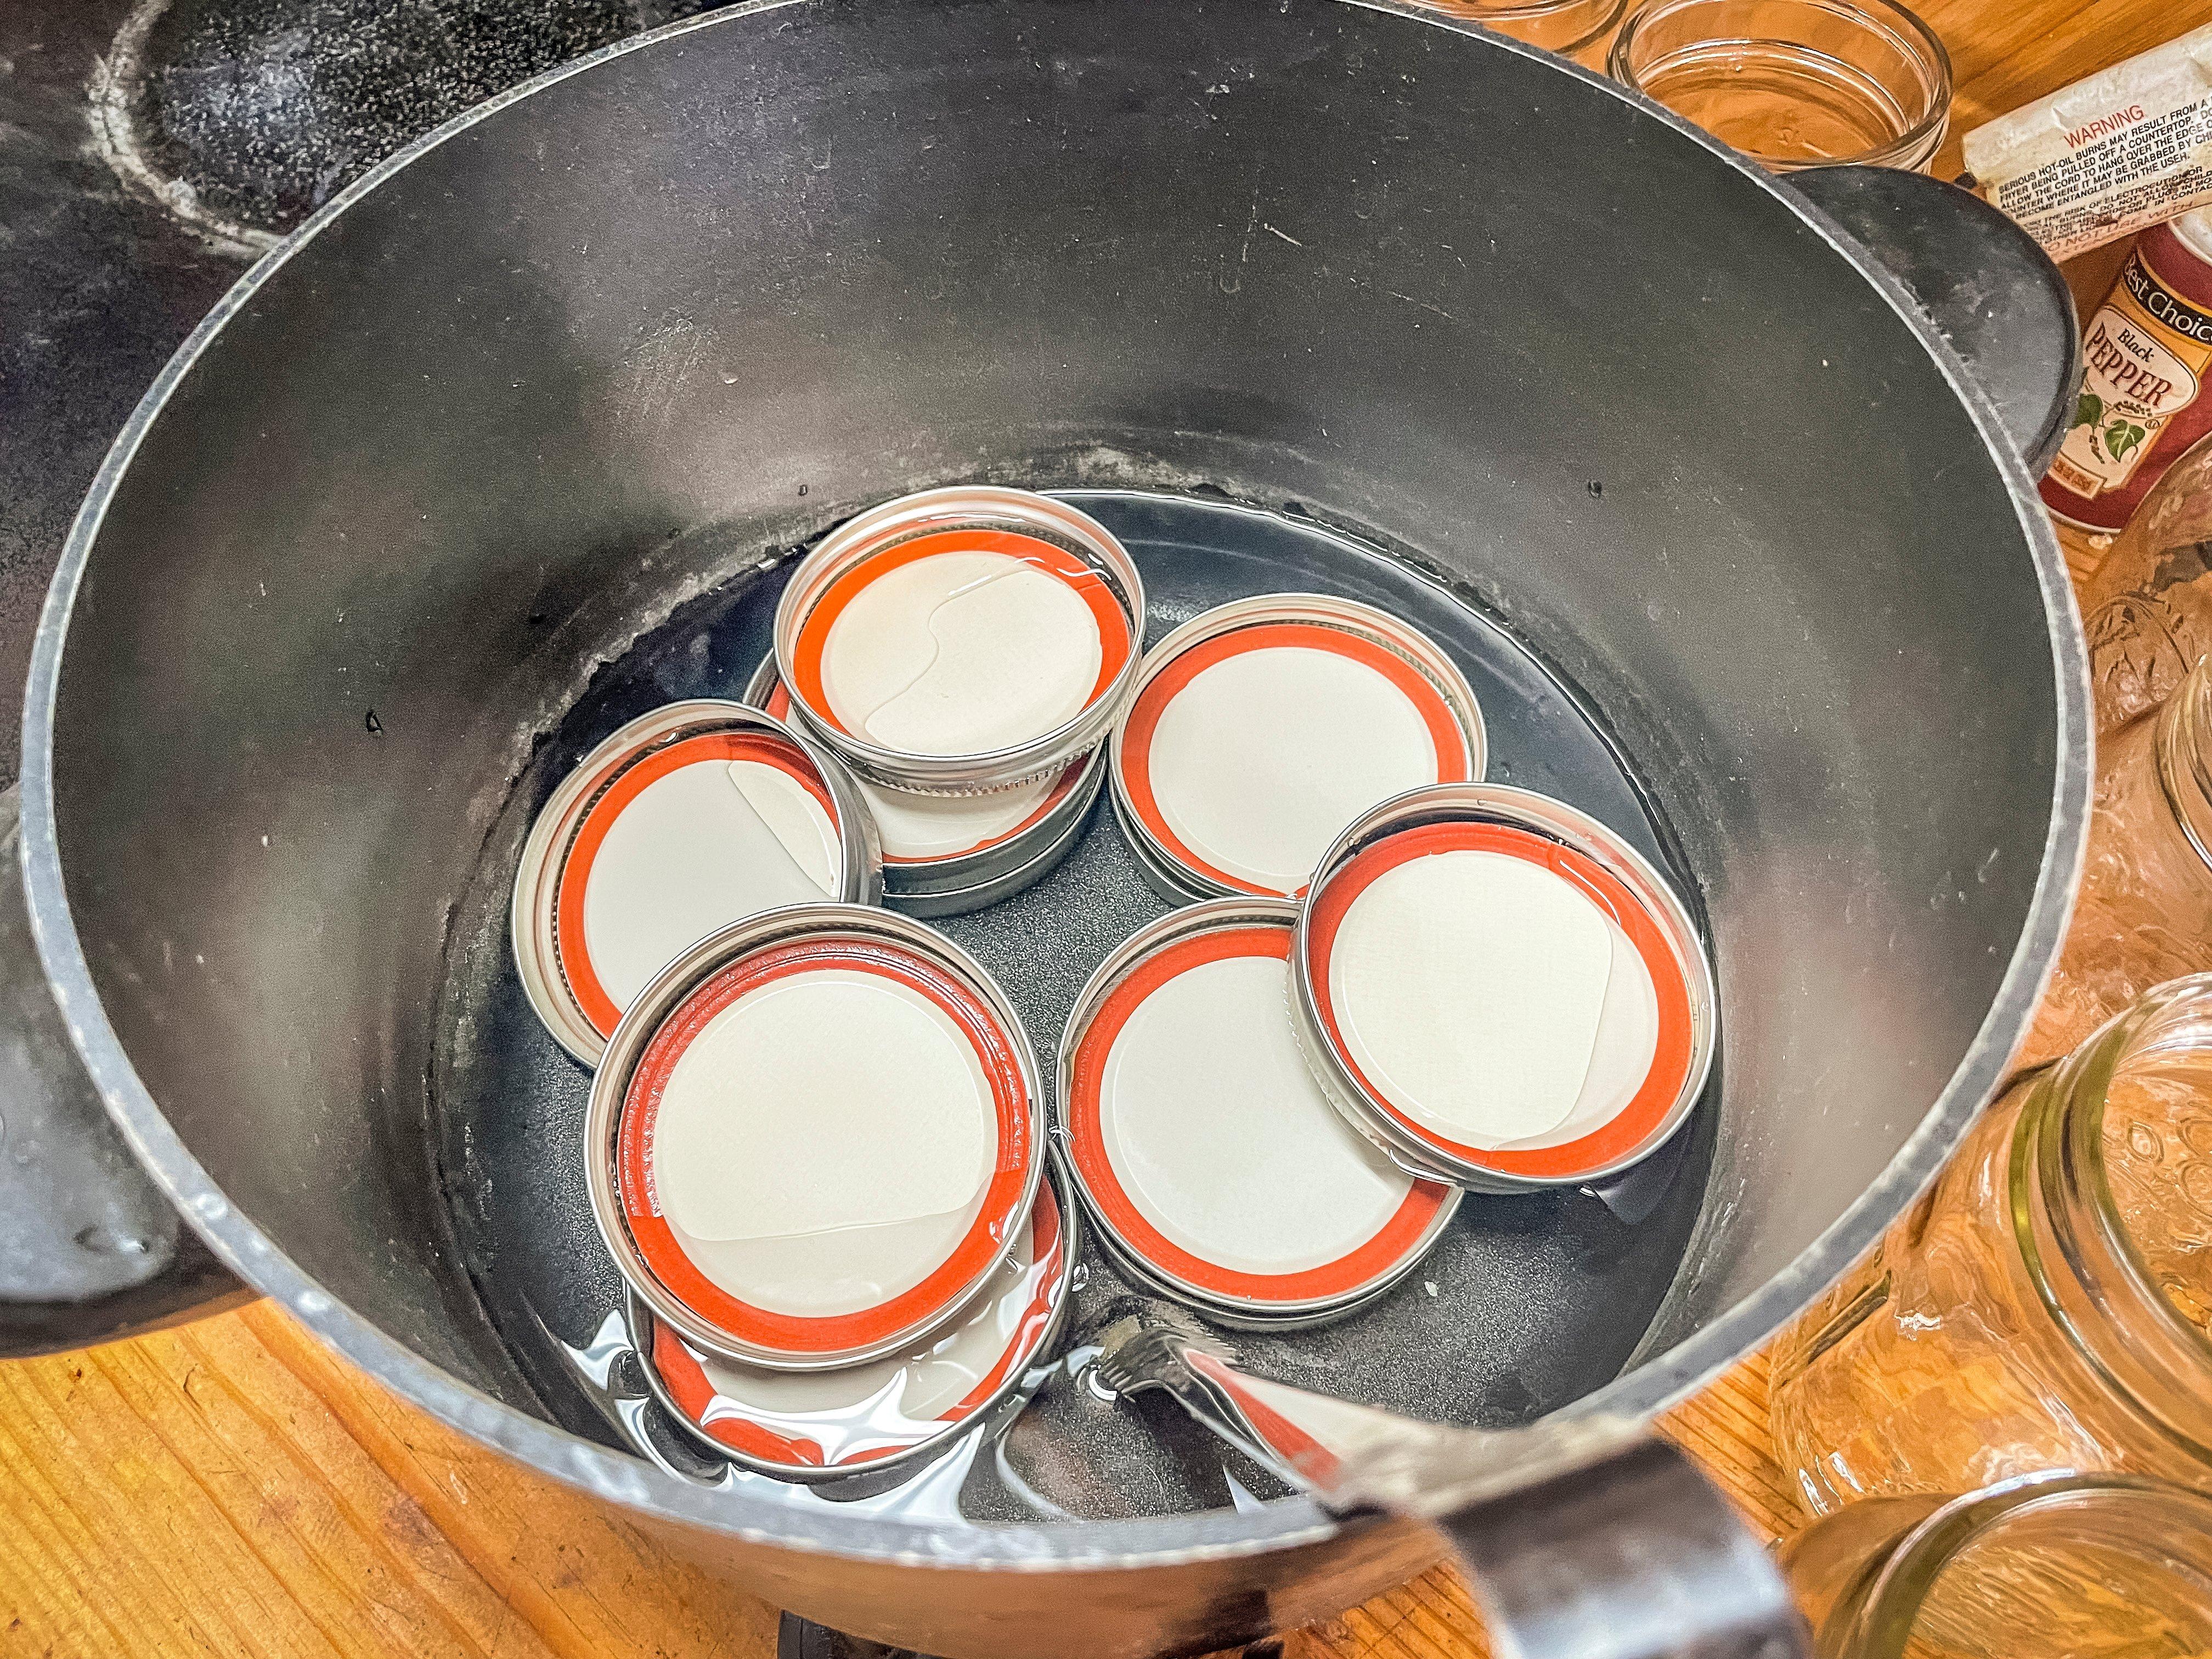
Place a NEW lid on each jar and screw the ring on hand tight. In the past, jar manufacturers recommended heating the lids in hot water before placing them on the jar. With modern lids, this isn’t as important, but I still do it.
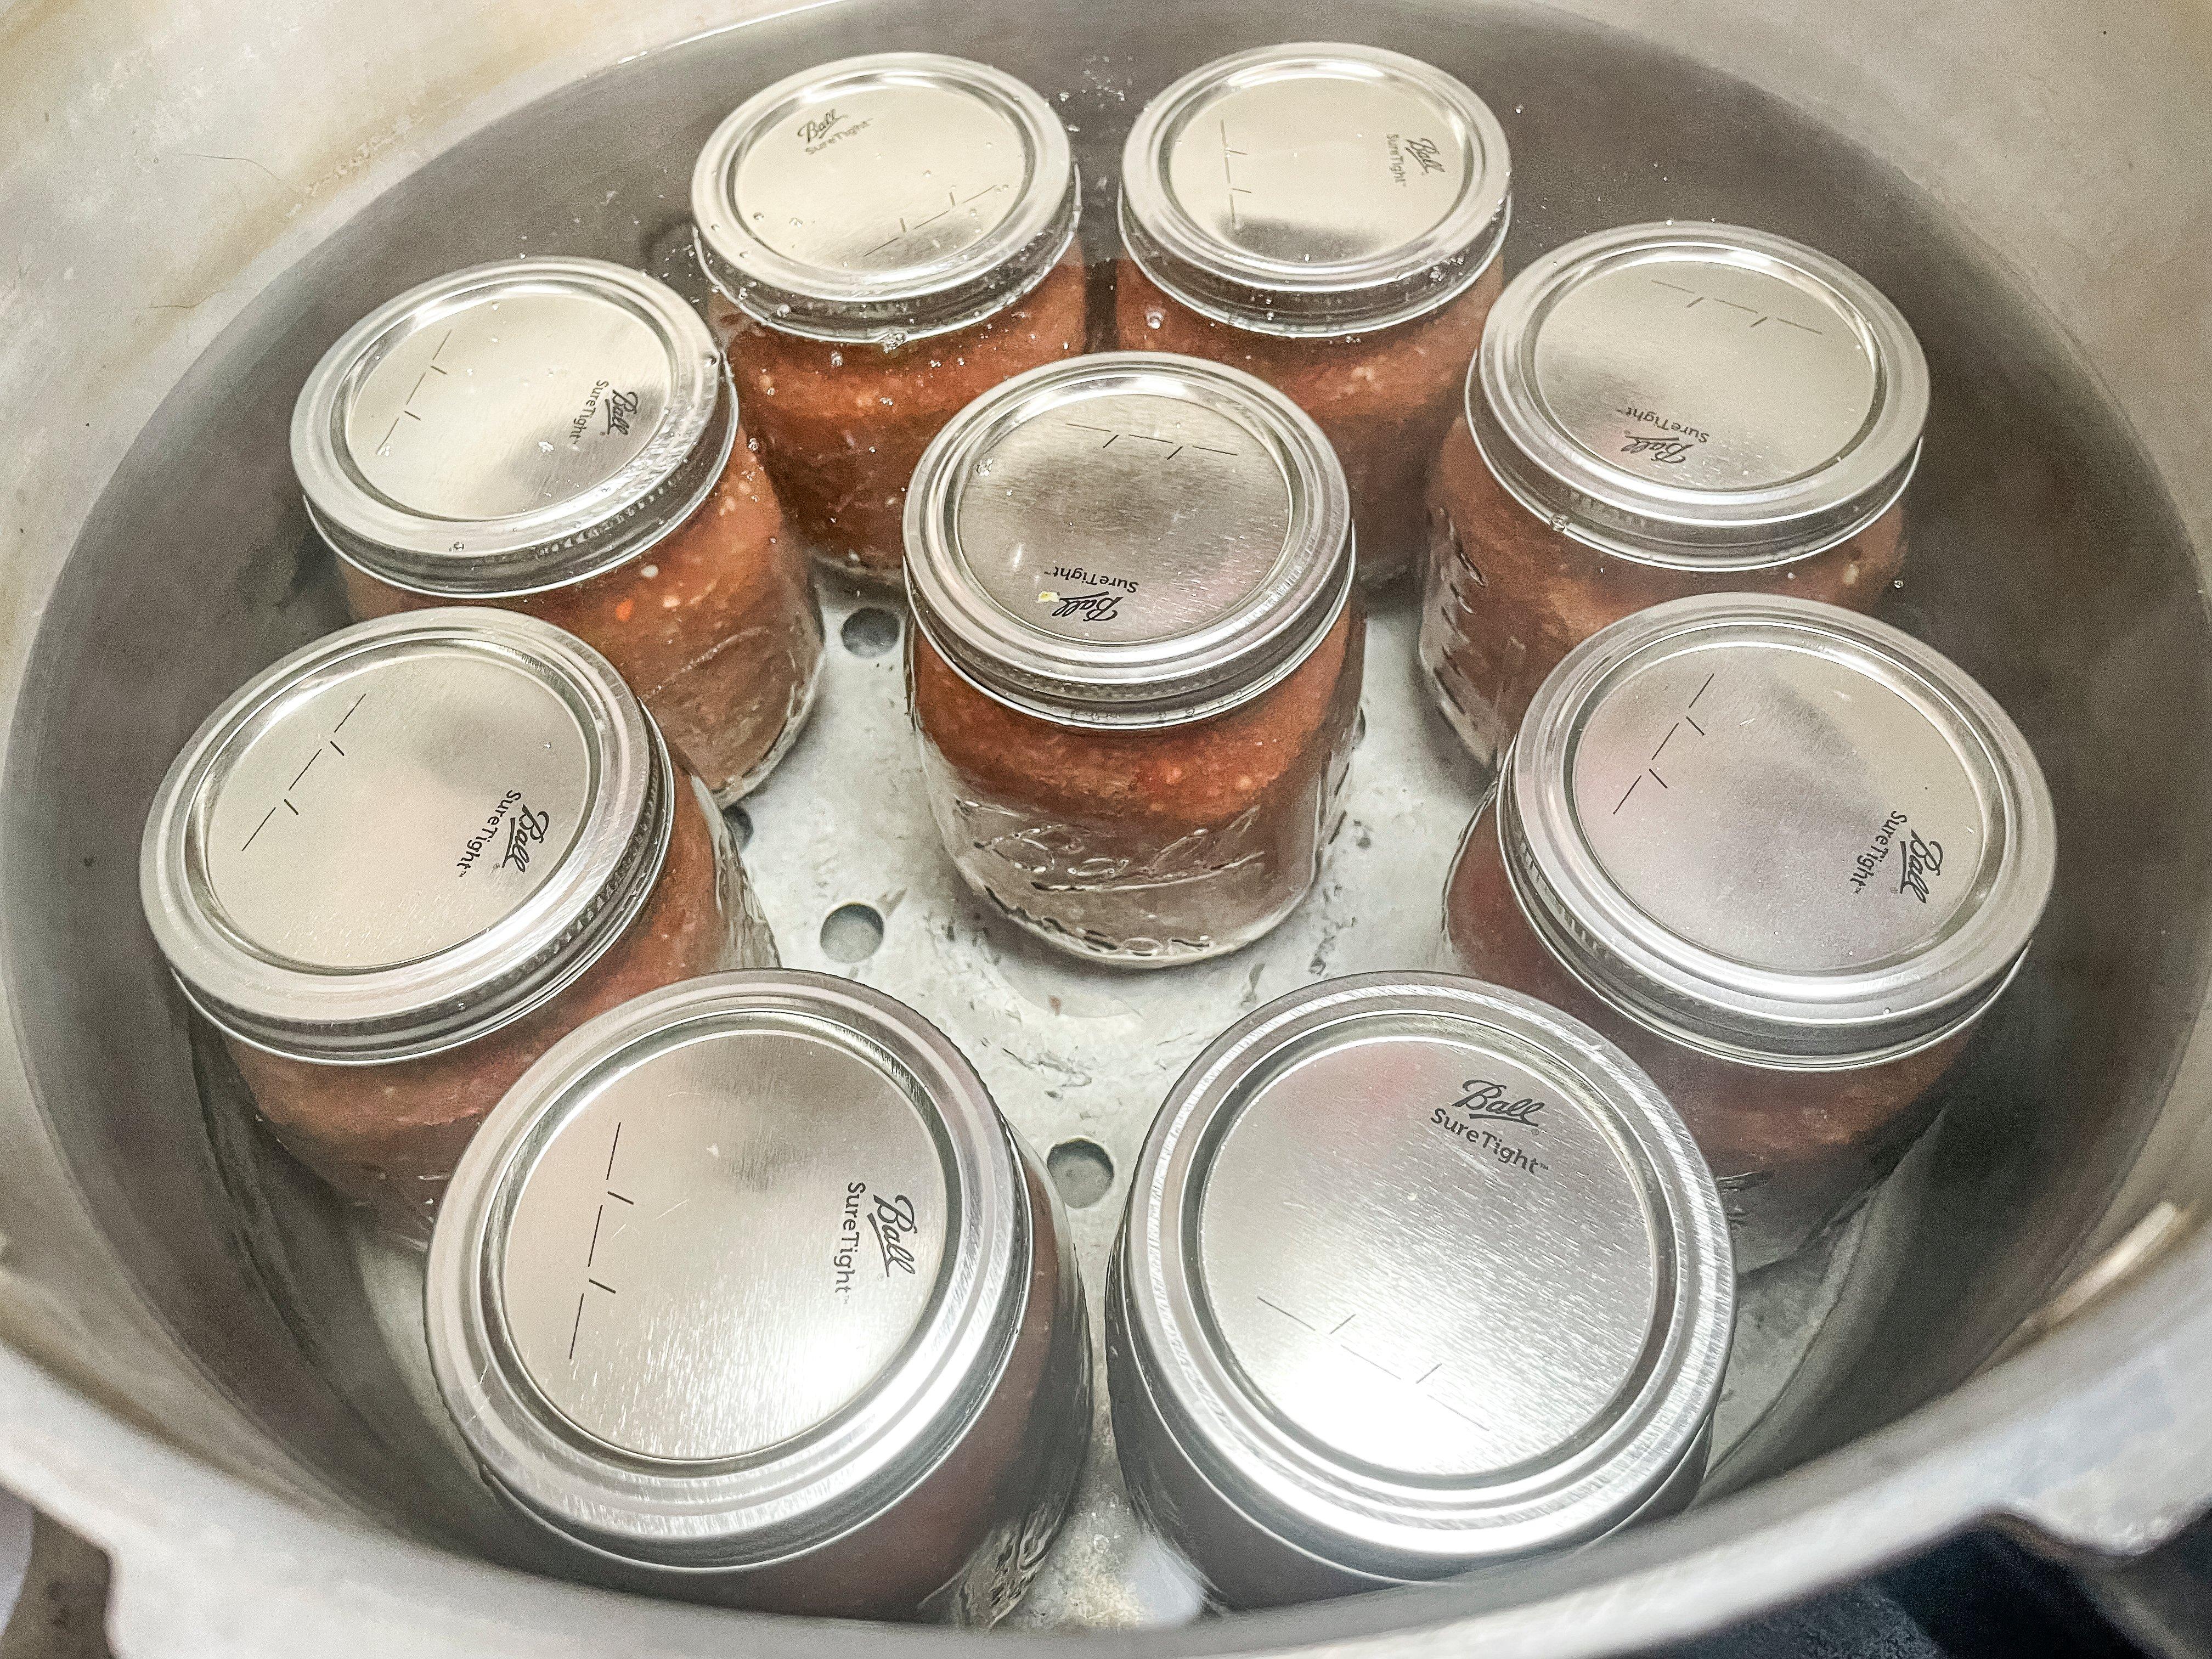
Put the capped jars in a large pot with a spacer on bottom to keep the bottoms of the jars from making direct contact with the bottom of the pot. You can find these spacers at most large supermarkets or stores with the canning supplies, or you can order them online. Fill the pot with water to around an inch over the top of the jars.
Turn the burner to medium-high. Bring the water to a boil. Once the water starts to boil, set a timer for 45 minutes.
Once the jars have boiled for 45 minutes, turn off the burner and move the pot away from the heat. Allow to set for 10 minutes.
Use a jar lifter to transfer the salsa to a clean towel on your countertop in a draft-free area. Allow the jars to rest and come to room temperature.
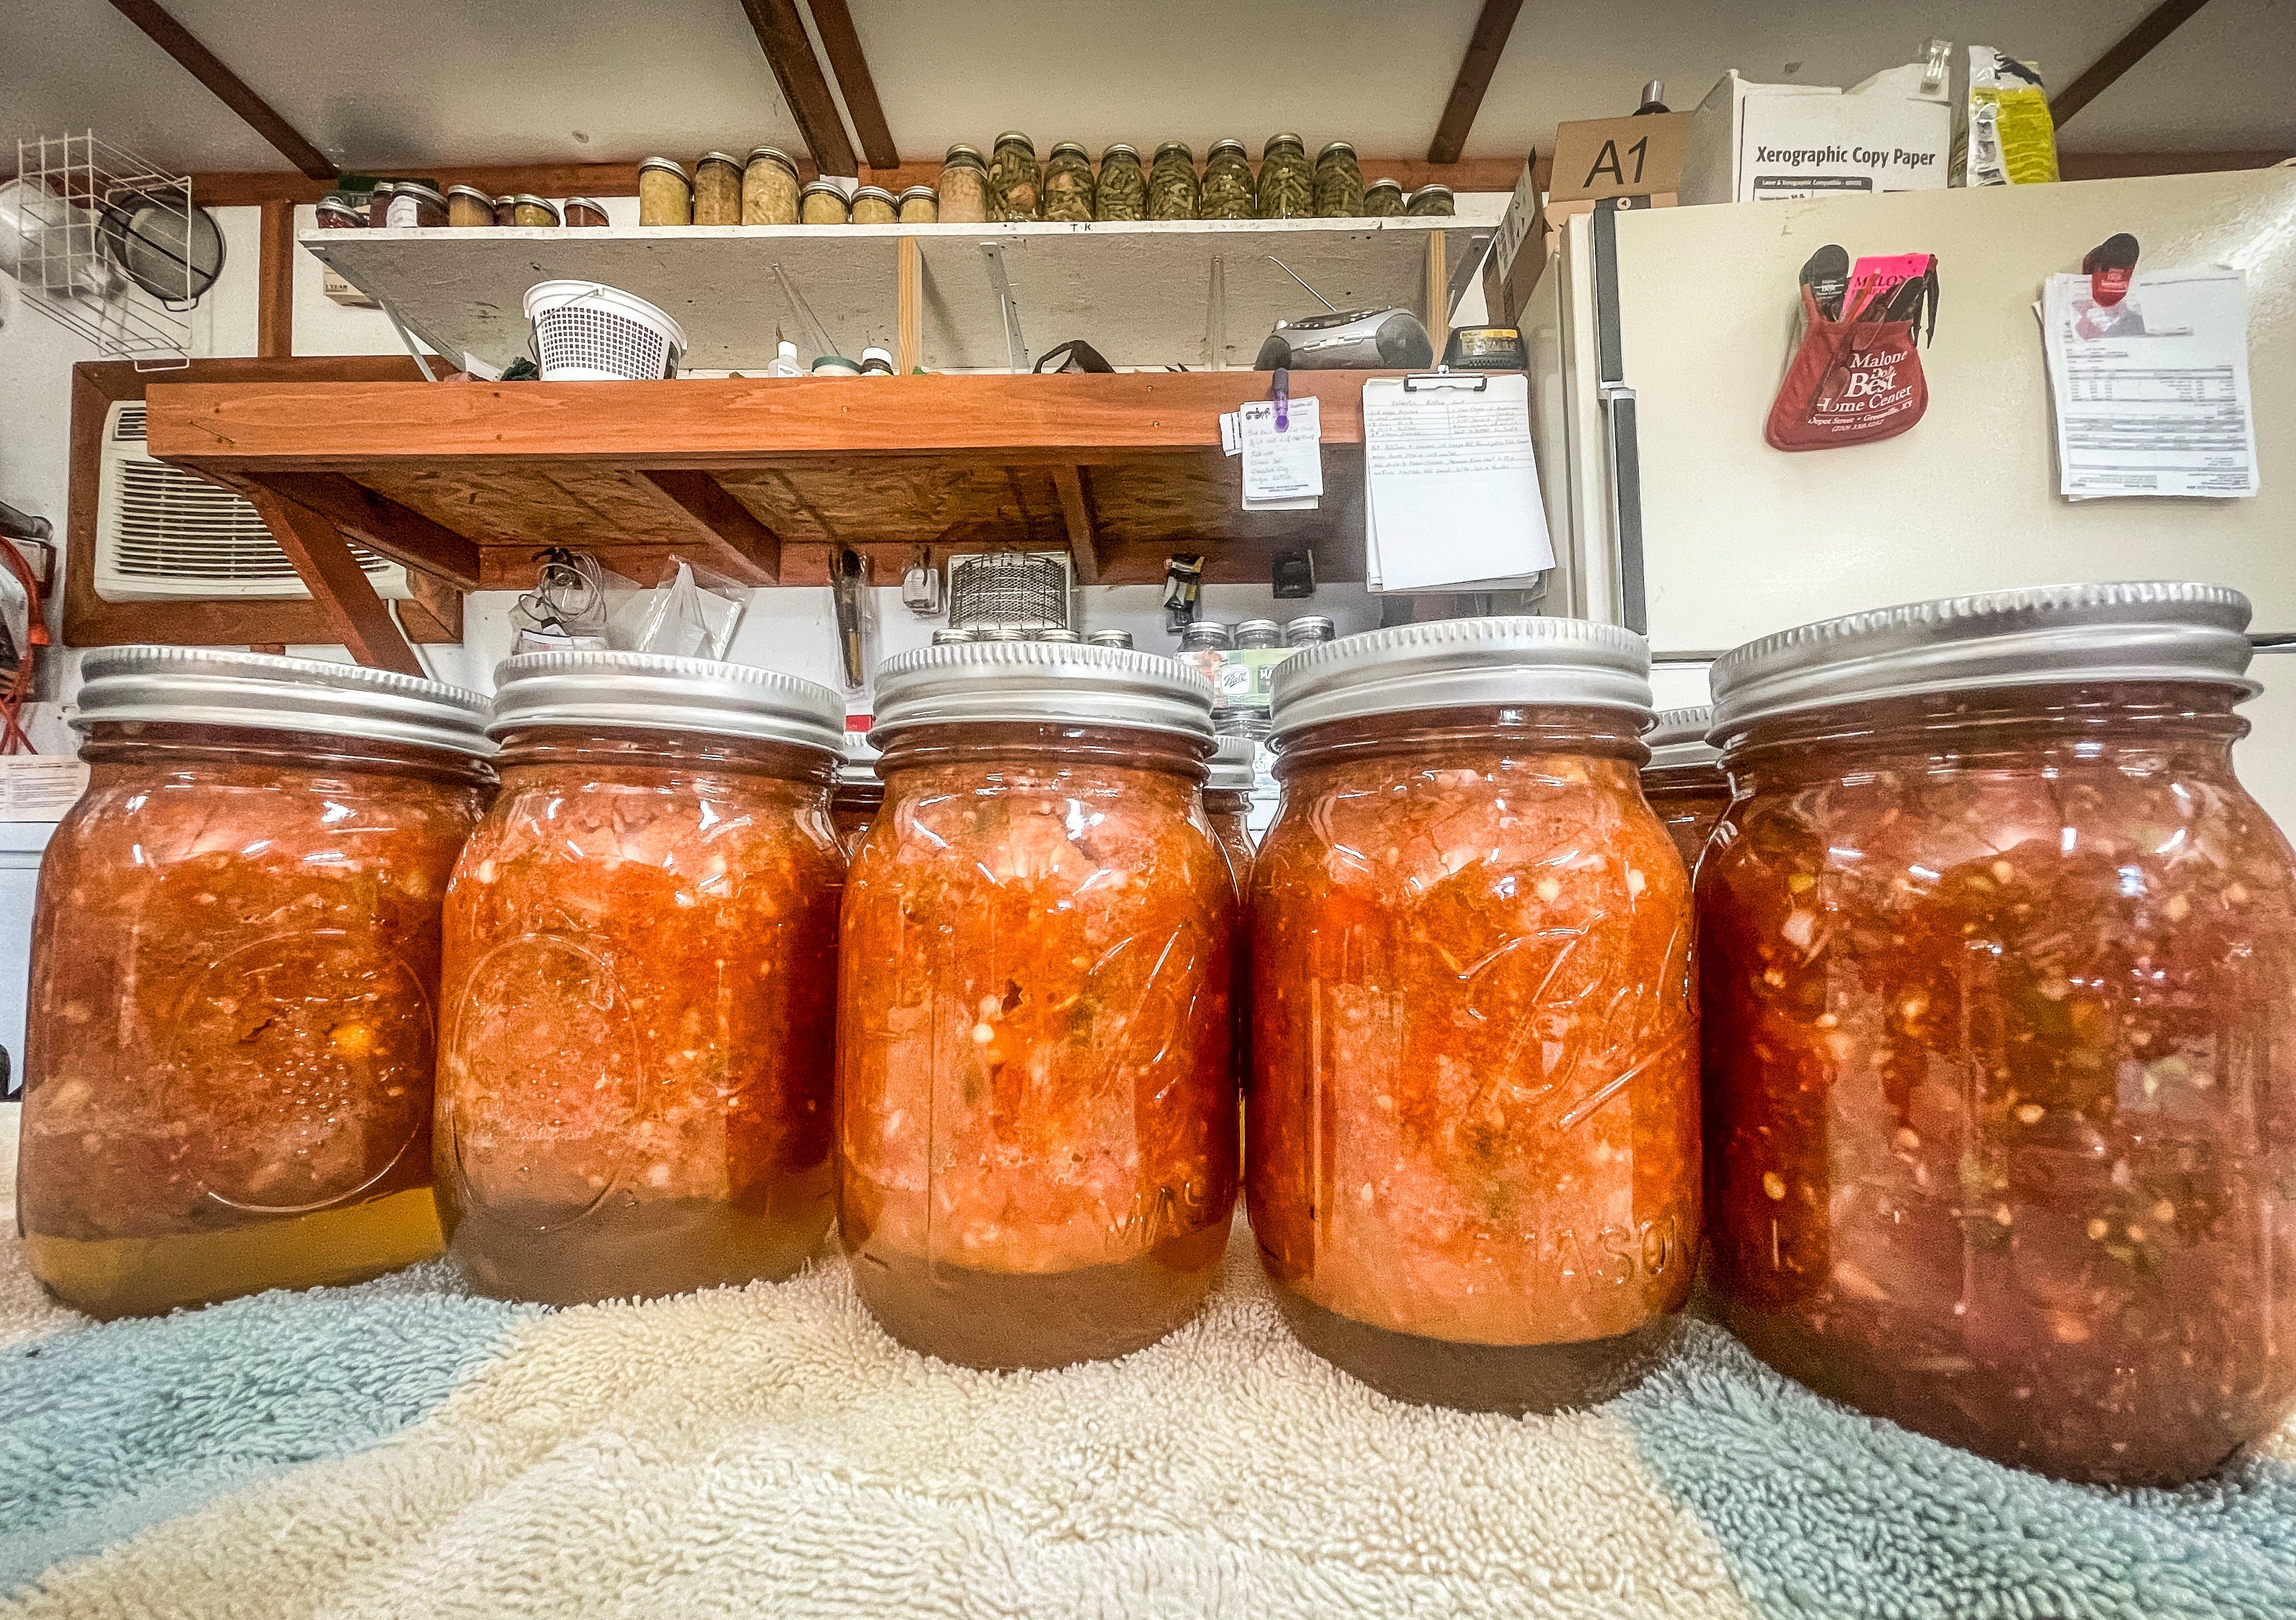
As the jars cool, you will hear them audibly pop as the lids seal to the jar rims. After 24 hours, check to make sure each jar has fully sealed. You can tell by pressing down on the center of the lid. If it feels solid, it sealed. If the lid presses in and bounces back, it didn’t. Move any unsealed jars to the refrigerator and consume over the next week or two. Sealed jars will be shelf stable for years.
Ingredients
35-40 medium to large tomatoes
5 jalapeño peppers, seeded
3 bell peppers, seeded
3 poblano peppers, seeded
2 cubanelle peppers, seeded
3 medium white or yellow onions, peeled and quartered
1 head garlic, peeled
1 cup white vinegar
¼ cup brown sugar
2 tablespoons granulated sugar
3 tablespoons salt, or more to taste
1 tablespoon garlic powder
1 tablespoon ground cumin
1 tablespoon red pepper flakes, optional
Juice of 1 large lime
Handful of cilantro, optional
12 pint-size canning jars with new lids

AUTHOR AT REALTREE TIMBER-2-TABLE