10 Must-Have Cooking Items for Waterfowl Hunters
The Sporting Chef offers tips to outfit your kitchen with the right gear this duck season
By Scott Leysath
I feel obligated to let you know that I’m not a gadget guy. You know, the multitude of choppers, dicers, and gizmos that usually end up selling for a dollar or less at the next garage sale. Many of them have their place. For instance, if you’re physically challenged and can’t easily work with a chef’s knife, a vegetable chopper might come in handy. For the rest of us, I’d rather you learn how to properly use and maintain a knife.
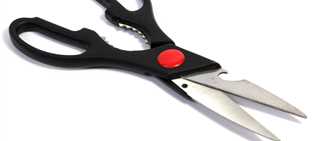
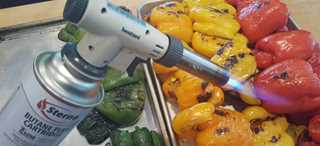
My list of kitchen must-haves is geared toward those of us who like to hunt and fish. If you don’t find yourself breaking down mallards (or mud hens) then you can probably get along without kitchen shears. Blow torches are great for caramelizing crème brûlée, but I use mine to burn off any pinfeathers I missed when processing my birds. If you don’t find yourself dealing with feathers or adding color to desserts, you can probably skip the torch.
1. Cutlery
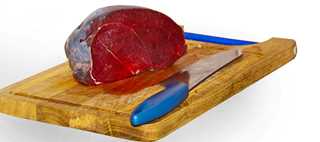
Before you go out and spend hundreds of dollars on a kitchen knife (and that’s relatively easy to do) consider buying an eight-inch chef’s knife like the ones used in commercial kitchens all over the world. They cost less than $10 and are available at restaurant supply stores, on Amazon, and at Walmart. Make sure the grip fits comfortably in your hand and then buy a 25-pound bag of carrots and learn how to dice, slice, chop, and julienne. There are countless online videos that will teach you how to use the knife correctly. By the time you’re done with the carrots, there will be a noticeable callus on the index finger of the hand you hold the knife with and you will have dramatically improved your knife skills.
If you decide that cooking is your thing, you will likely want to upgrade your kitchen cutlery to a few knives with higher-grade metals that hold an edge longer, are well-balanced, and look cooler than the basic chef’s knife. But before you invest in a large block of knives, keep in mind that you will probably use only two or three of them regularly: a chef’s knife, a paring knife, and a slicing or fillet knife.
2. Knife Sharpener/Steel
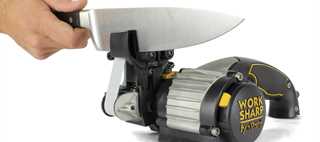
Some chefs claim that you should never sharpen a knife with an electric sharpener. I disagree. I use a belt-driven Work Sharp Ken Onion unit as needed, but I’m careful to use only the belts with more grit when a knife edge has become severely compromised. Most of the time, a few passes of each side of the blade with a honing belt makes for a super-sharp edge. There are several other electric models on the market and, for the most part, they all do a good job, but the key to knife longevity is to use these sharpeners properly and not to excess. And when you do have a knife that has been chipped, bent, or otherwise abused, you can’t beat an electric sharpener to get it back in working order.
Manual sharpeners come in many shapes and sizes. Rod kits with ceramic or diamond sharpening surfaces, handheld gadgets, water and oil stone kits, guided sharpeners, and sharpening steels are among the many choices. The steel rod that you see television chefs using is for honing or maintaining a knife edge, not for sharpening. As a knife is used, the edges can get a bit off-center. The steel is used to realign, or re-center, the edges so that the knife glides more easily through whatever needs cutting. Keeping a steel nearby when breaking down fish and game makes for less time processing and more time to watch the ballgame.
3. Utensils
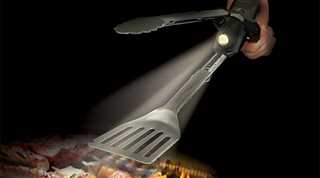
https://www.outdooredge.com/collections/outdoor-cooking/products/grill-beam
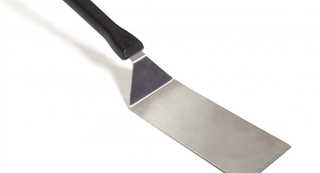
Spatula For outdoor grilling, a metal spatula beats a plastic one every time. The plastic spatula that you use indoors for pancakes doesn’t work nearly as well over white-hot coals.
4. Tenderizer
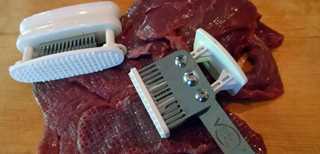
https://www.facebook.com/victortenderizers/
5. Thermometer
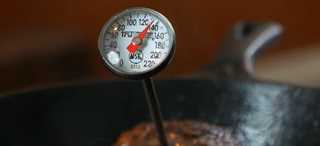
Meat thermometers vary from a $5 pen-like unit from the grocery store to fancy digital readout models. Wireless thermometers have a sending unit connected to a probe that is inserted into the meat. A receiver that looks much like a small walkie-talkie allows you to check cooking time and internal temperature anytime. You can also set an alarm that lets you know when the meat has reached the desired temperature.
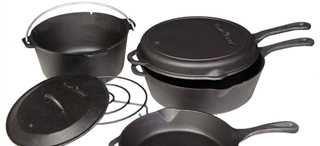
6. Cookware
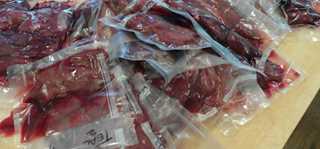
7. Vacuum Sealer
8. Kitchen Shears
9. Blow Torch
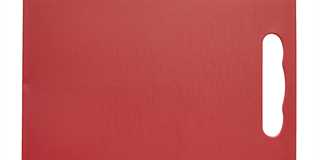
10. Cutting Board
You may also like
-
Remington New Hunter Hog Hunting VIDEO
-
Researchers asked Wisconsinites if they wanted a sandhill crane hunting season. Here’s what they found.
-
Share Your Passion For Hunting And Trapping
-
Wisconsin: Vote Tomorrow on Credit Card Privacy and Hunting-Related Bills
-
COUNTRY VISIONS COOPERATIVE’S OUTDOORSMEN EXPO FEBRUARY 3, 2024
